Crochet beginner checklist: are you an absolute beginner at crochet? Here is all you need to know.
Some people go to crochet school or hire teachers. Some of us (hi, hello, guilty 🙋♀️) just wing it at home, at our own pace, learning in between coffee refills and YouTube spirals.
I’m in the second camp, and let me tell you: self-taught does not mean you’ll learn less.
The real challenge? Figuring out what to learn first and in what order.
Sure, it’s exciting to whip up your first scarf… but trust me, it’s even better when you know what half-double crochet and treble crochet are before you start.
That’s why I wish I had a beginner’s checklist when I started. Something to save me from endless 30-minute intros in “beginner” videos when all I needed was a clear, close-up shot of the actual stitch. So, I made one for you.
This is the crochet beginner checklist I wish I had: the right order to learn stitches, clear explanations, and links to short, actually helpful videos, so you can spend less time searching and more time crocheting. Because you don’t have to hate crochet to learn crochet.
Before we dive in, let me make something clear:
Crochet: Art, Not “Just” Craft
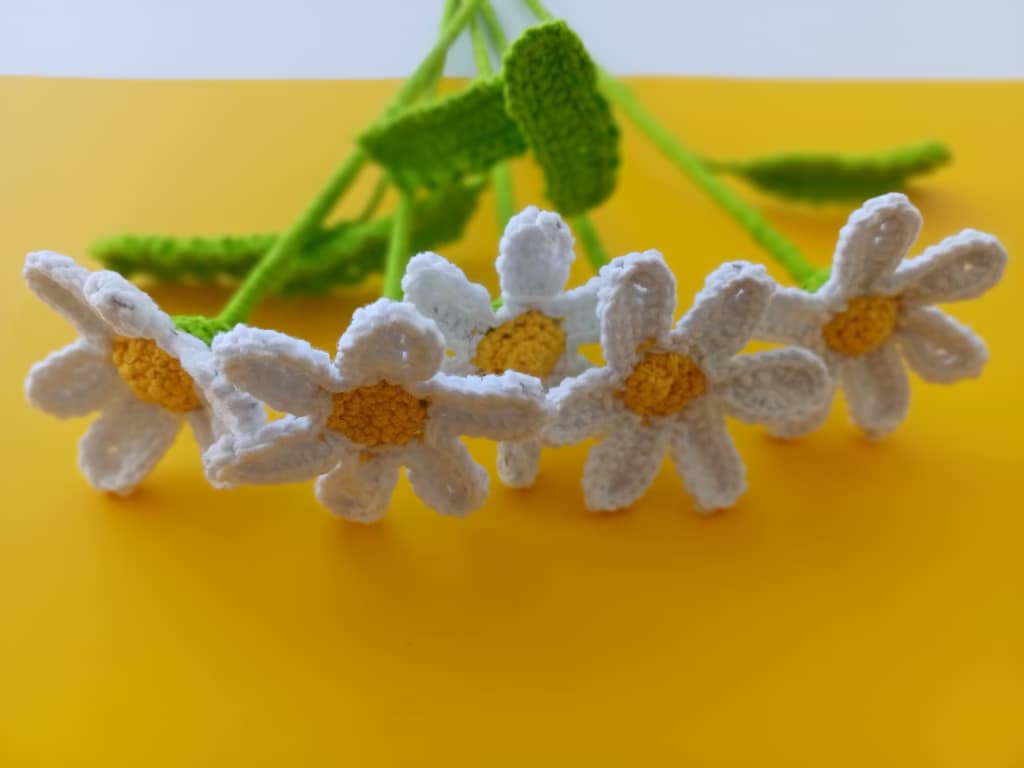
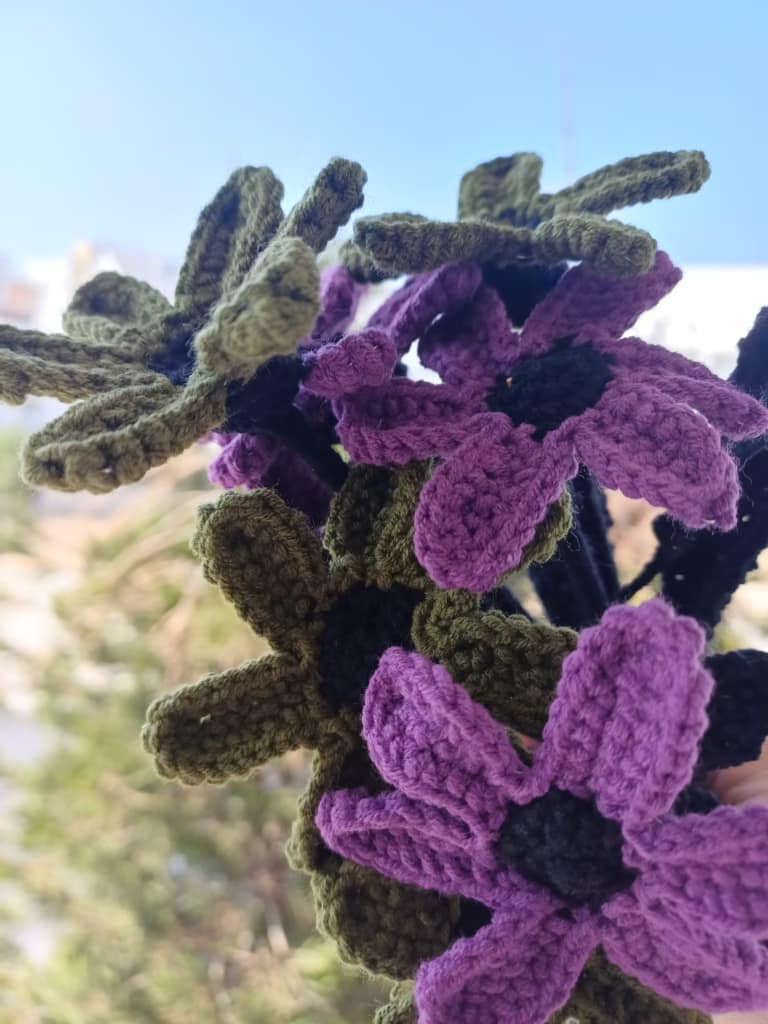
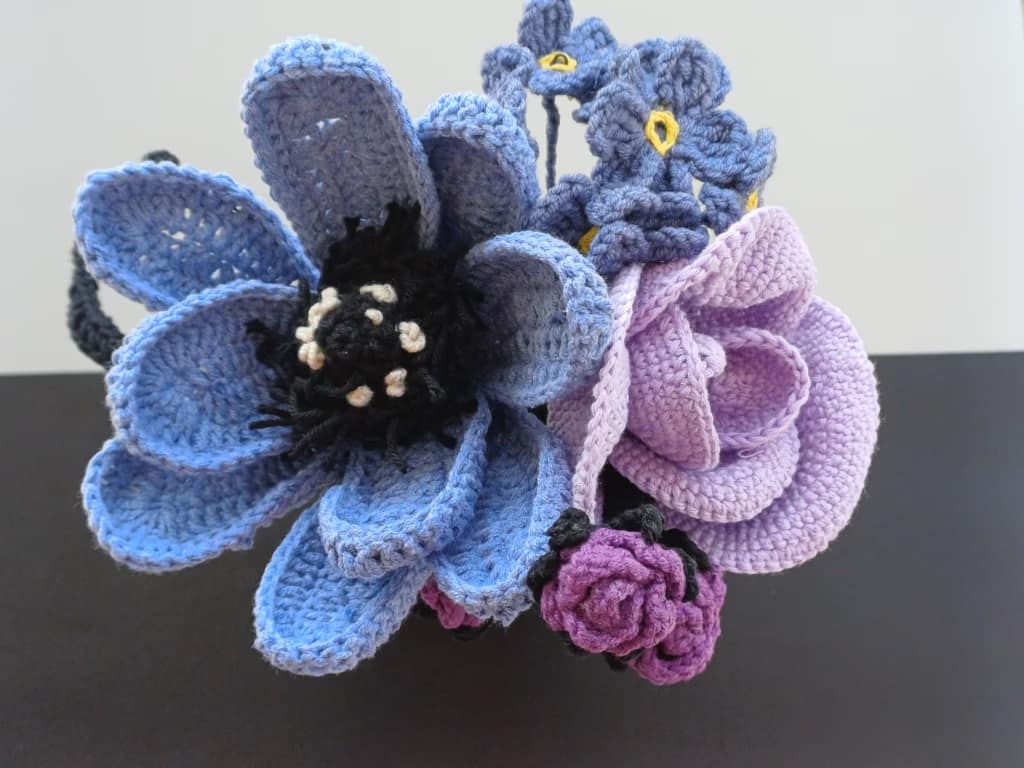
For me, crochet is an art, not a craft. Why is it often treated as the “less serious cousin” of painting or sculpting? Crochet is just as creative, just as expressive, and just as capable of jaw-dropping beauty. Prepare to be astonished by what your hands can create.
Yes, there will be a learning curve. Your first chains will be uneven, your tension will play hide-and-seek, and your fingers may feel like rebellious spaghetti.
But give it a little time, and the progress you’ll see month by month will feel like magic.
And the learning never stops. I’ve been crocheting for years, and I still discover new stitches, techniques, yarns, and “wait, what is this wizardry?” methods.
Crochet is endless curiosity, awe, and wonder. And that’s what makes it my happy place.
Crochet beginner checklist: What You’ll Need to Start
Forget the fancy toolkits for now. As a beginner, you really only need three things:
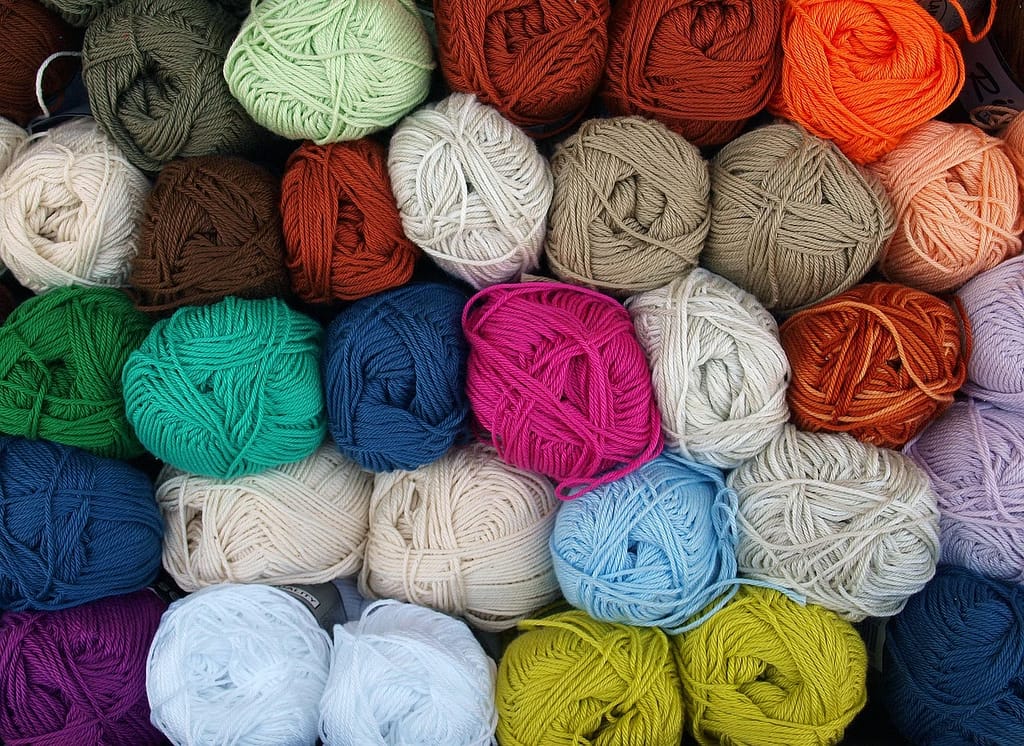
Yarn
Start with a medium-weight yarn (look for a “4” or “worsted” label). Choose a lighter color so you can actually see what you’re doing — dark yarn hides mistakes, and trust me, you’ll want to see your stitches clearly.
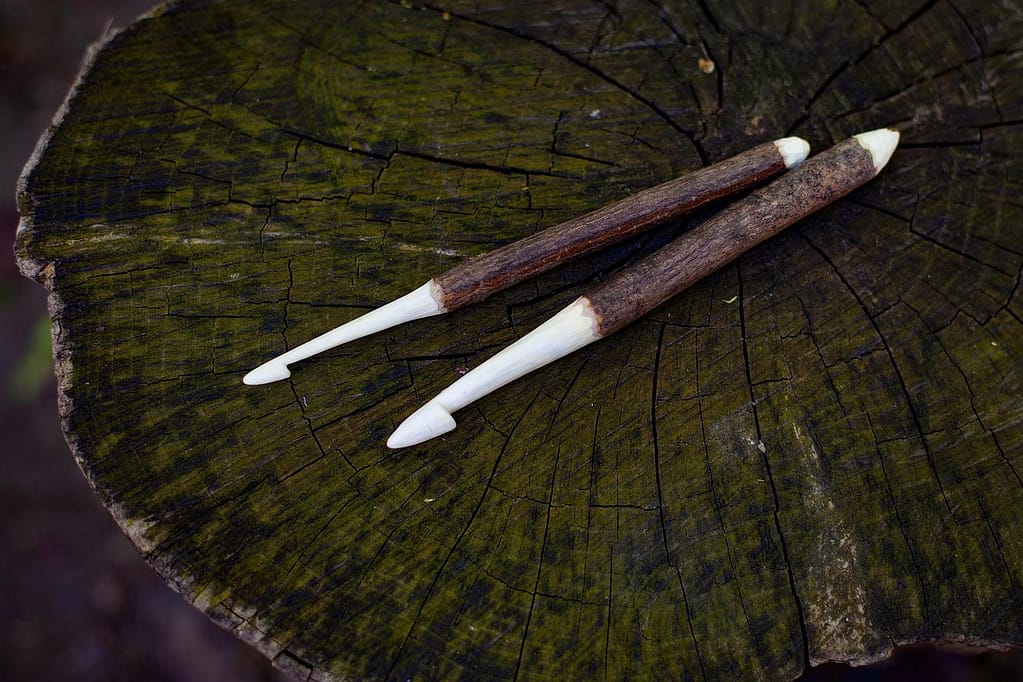
A crochet hook
Check the yarn label for a suggested hook size. Start there. If you’re struggling with tension (your stitches are tight like overcooked rice), try going up a hook size.
Scissors
Because teeth are not an option. (Technically they are, but let’s keep this classy.)
Pro tip: You’ll also need good lighting and a comfy seat. Bad lighting = swearing. Bad seating = back pain. Don’t learn this the hard way.
Now, let’s first talk about the elephant in the room:
The Hook-Holding Drama
You may have noticed: crocheters hold their hooks differently.
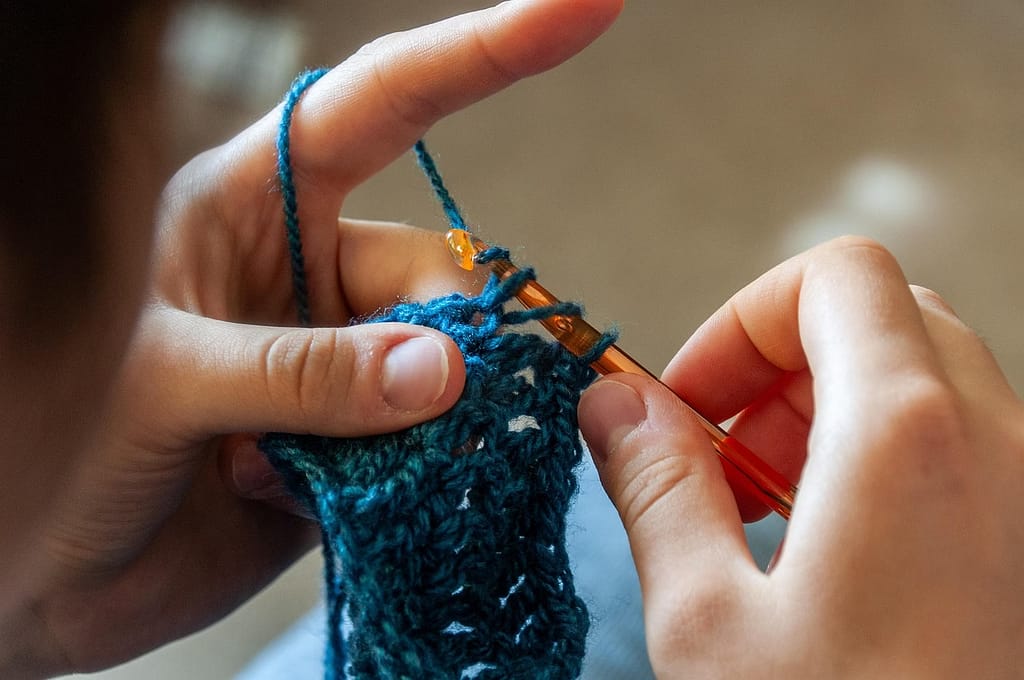
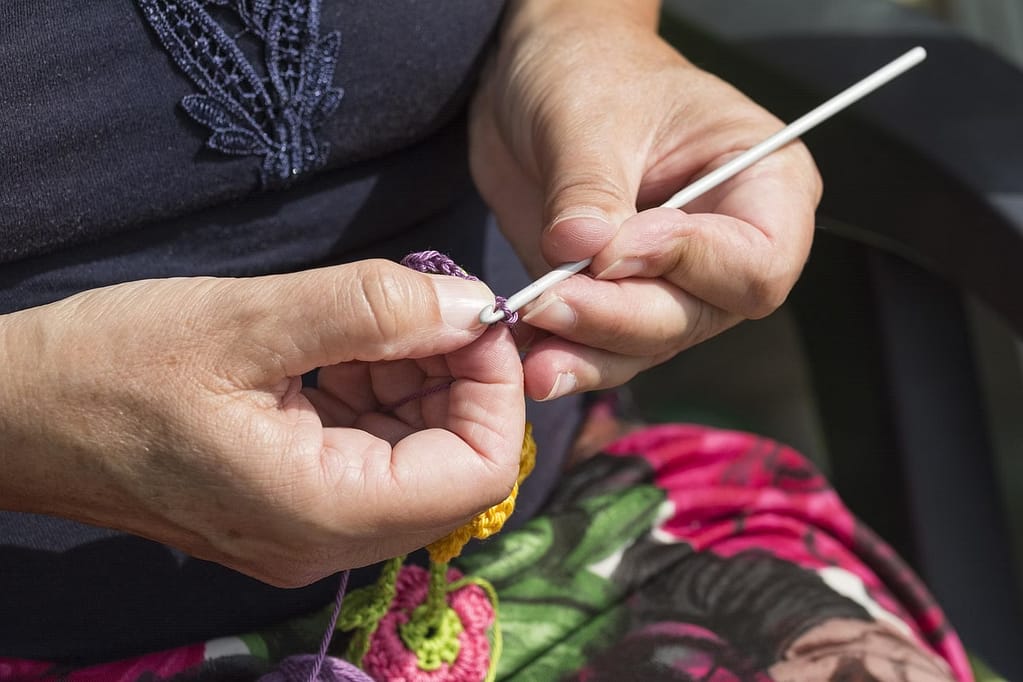
Some grip it like a knife, others like a pencil. Which is right?
Answer: whichever doesn’t make you want to throw your hook across the room.
There’s no “correct” way. Just the way that feels natural to you.
Now, let’s start with your first steps.
Step 1: The Magic Ring (a.k.a. The Trickster)
This little circle of yarn is the start of all projects especially the round ones (think amigurumi, flowers, hats, etc.). Is it the easiest place to begin? Honestly, no. It looks fiddly, your fingers aren’t trained yet, and your tension is basically non-existent.
If it feels like too much, skip it for now. Make a few chains first to get your hands used to moving yarn. Come back later. You’ll be shocked at how simple the magic ring actually is once your hands are warmed up.
Short, sweet, and helpful – Watch this video by Crafting Hapiness →
Step 2: The Chain (your foundation)
Chains are your best friend. They’re the backbone of almost everything you’ll make that isn’t round. Practice making chains until your tension starts to look even. At first, they’ll be a mix of “so tight the hook won’t go through” and “so loose a mouse could crawl through.” That’s normal.
Here’s the best video I found from With Love, Leisha →
Stay here for a few days. This is where muscle memory forms and where your hands learn to move on autopilot, so later you can focus on counting stitches without overthinking every move.
Step 3: Master the Basic Stitches
Here’s where the fun begins. Crochet stitches build on each other, getting taller as you go. Learn these in order:
Slip Stitch (sl st) – the shortest, useful for joining.
How: Insert hook, yarn over, pull through stitch and loop. The shortest stitch, great for joining.
See the magic happen with this video by Nicole Chase who also shows you how to fasten off →
Single Crochet (sc) – neat, compact, and your entryway into “real” crochet.
How: Insert hook, yarn over, pull through, yarn over, pull through both loops.
Check out this great video by Rich Textures Crochet:
Half Double Crochet (hdc) – a little taller, nice and squishy.
How: Yarn over, insert hook, yarn over, pull through, yarn over, pull through all three loops.
Watch a quick demo by Desert Blossom Crafts and master it in no time →
Double Crochet (dc) – versatile, airy, and used everywhere.
How: Yarn over, insert hook, yarn over, pull through, yarn over, pull through two, yarn over, pull through two again.
Here’s a super short video by Bella Coco to make it crystal clear →
Treble Crochet (tr) – tall, dramatic, and a little showy.
How: Yarn over twice, insert hook, yarn over, pull through, yarn over, pull through two, yarn over, pull through two, yarn over, pull through two.
Need a visual? This tutorial by A Menangerie of Stitches has got you covered →
Practice each for a few days. Try making them on your chain, one row each. You’ll actually be practicing tension without realizing it.
✨ Fun fact: Also, you may have just accidentally made your first scarf.
Step 4: Increase and Decrease
Want to shape your projects? This is how.
Increase (inc): Put two stitches in the same place to make your project wider.
How: Make two single crochet stitches in the same stitch. Your go-to for shaping wider pieces.
Let’s make it simple. Watch this video by Annie’s Attic→
Decrease (dec): There’s is “normal” and “invisible” decrease. I always use invisible decrease by simply crocheting two stitches together to make it narrower.
How: Work two stitches together into one (e.g. sc2tog). Perfect for narrowing or shaping.
For a clear, easy guide on both visible and invisible decreases, check this video by elendipity →
With these, you can go from flat swatches to hats, amigurumi, and beyond.
Step 5: Crochet Language & Lingo
Now that your hands are busy, let’s decode the words you’ll bump into:
Gauge: Patterns are written for a specific size. Your tension might be different. Gauge = the measurement that keeps your project from turning into an accidental crop top.
Frogging: The act of ripping back stitches when you mess up. It’s called frogging because you “rip it, rip it” 🐸.
Amigurumi: The Japanese art of crocheted plushies. They start with a magic ring, are worked in rounds, and usually involve stuffing. Cute level: off the charts.
Blocking: The spa treatment for your crochet. Wet your finished piece, pin it down, let it dry, and watch it magically relax into shape. Great for lace, scarves, and anything flat. (Not for amigurumi, unless you want sad, soggy bunnies.)
If you want to see the full list of abbreviations and terms visit the Crochet Abbreviations Master List by Craft Yarn Council. You will find all crochet terms & common measurements as well as abbreviation & term differences between the U.S., United Kingdom (U.K.) and Canada. Save that page, too.
Crochet beginner checklist epilogue: The Never-Ending Joy
Here’s the thing: crochet isn’t something you “finish learning.” It grows with you. Each project teaches you something new. A stitch, a technique, a mistake that turned into a discovery. That’s why it never gets boring.
And somewhere between your first wobbly chain and your tenth masterpiece, you’ll realize you’ve created your own rhythm, your own style, and your own joy. That’s what crochet gives you: a little magic you can hold in your hands.
Ready for More?
👉 Check out my Crochet Hacks for Beginners for time-saving tips.
👉 Or, if you’re ready to make something gorgeous, explore my Crochet Flower Patterns and start stitching beauty right away.
Because life’s too short for boring scarves. 🌸✨
Until next bloom
❤️
Kootsiko