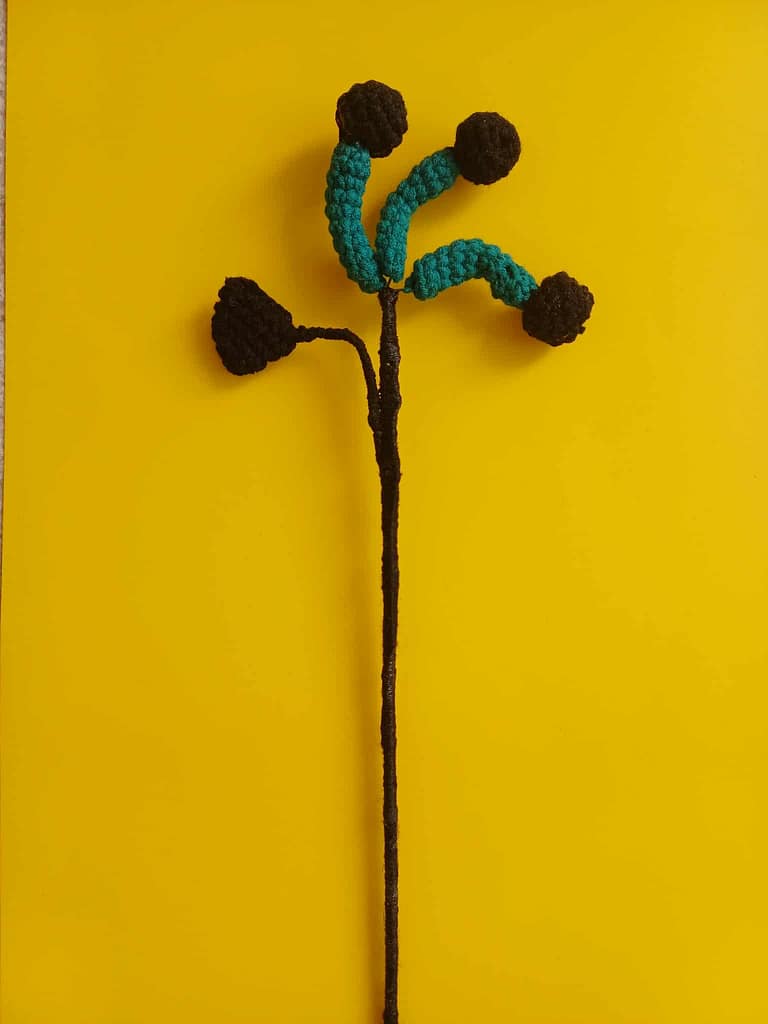
If you’ve ever tried crocheting a tube and especially tiny tubes-like amigurumi necks, hands, or even plant vines, you know the struggle is real.
When you crochet a tube the stitches get tight, your hook feels like it’s wrestling with yarn spaghetti, and sometimes you wonder if it’s even worth it.
I get it. It actually took me months to figure out a way to make those tricky little parts less of a headache. And guess what? The solution is surprisingly simple.
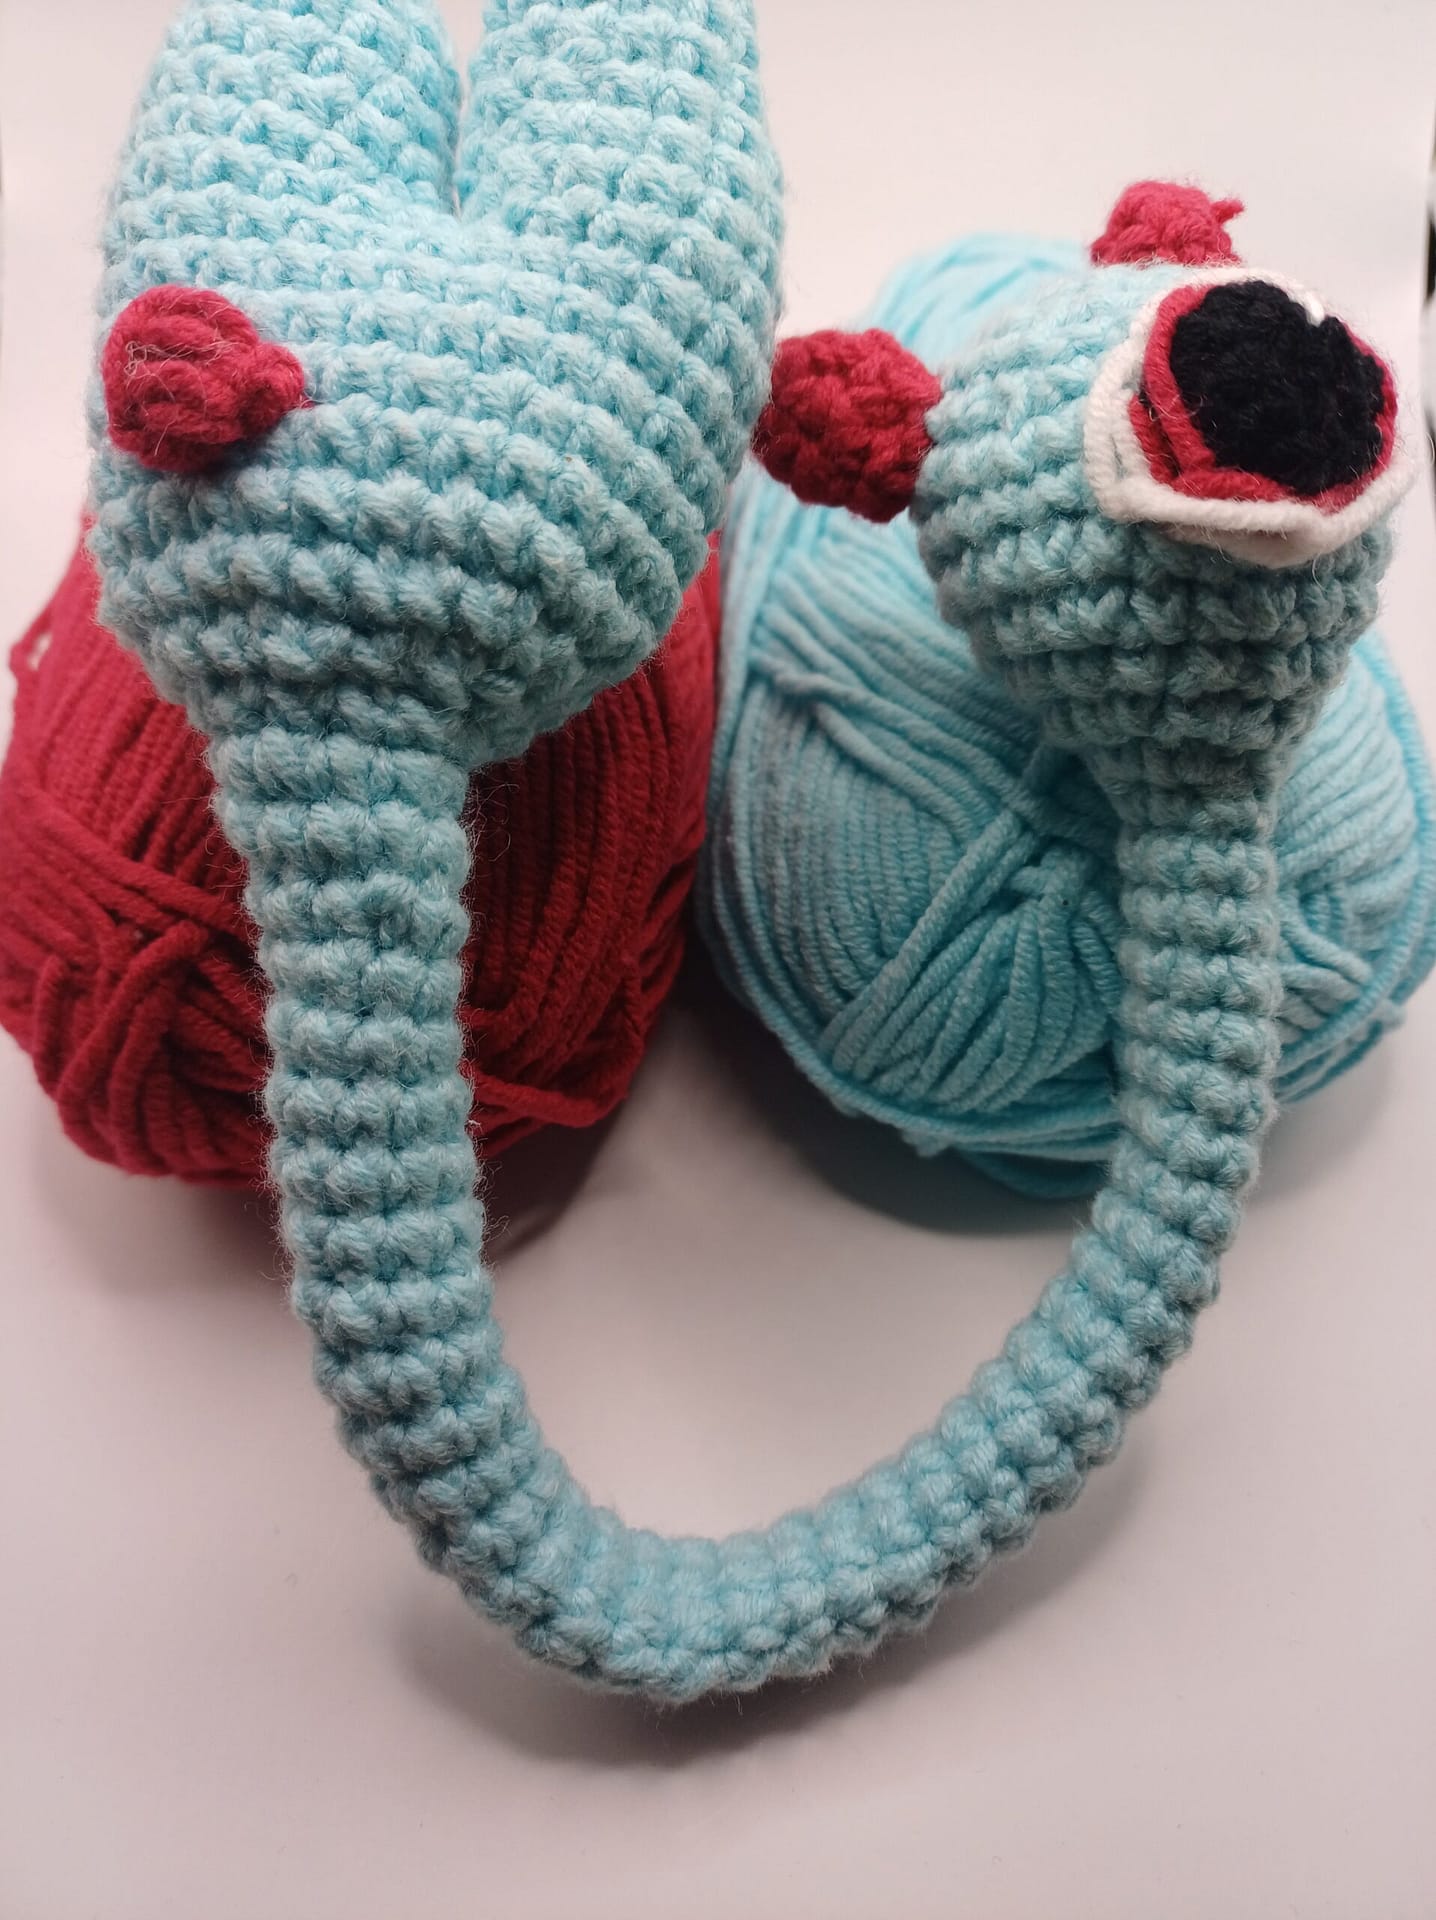
Here’s the trick to crochet a tube: flatten your work before you start crocheting the narrow section.
Once your piece is flat, crochet only through the front layer of stitches (ignore the back layer completely).
This keeps things open, manageable, and way less fiddly. Just make sure you don’t accidentally catch the back stitches—or you’ll seal the tube shut.
Why this works
By flattening and crocheting a tube only the front layer, you give yourself more control over the hook, so those tight little rounds stop feeling like a wrestling match.
The result? Smooth, professional-looking narrow parts without all the frustration.
✨ A tip for practicing:
Start with a wider tube of around 12 single crochet stitches.
Work 20–30 rows this way until it feels natural, and then slowly decrease your stitches down to 8, 6, or even 4 sc.
Before long, your hands will just know what to do and you won’t even think about it.
Give it a try, and you’ll see how much easier it makes those tiny amigurumi details.
And if you found this helpful, stick around. I’ve got more tips, tutorials, and inspiration coming your way to help you level up your crochet and bring your creative ideas to life.
Keep reading: Crochet mistakes I keep making
Until next time, may your yarn never run out 🧶
your parrot doesn’t turn it into confetti 🦜
and your hook never vanish! 💨
❤️
Kootsiko