
If your crochet flowers don’t look quite right, these common crochet flower mistakes might be the reason.

Have you ever finished a crochet flower, held it up proudly… and immediately thought, Why doesn’t mine look like the picture?
Maybe your petals curl too much. Maybe they flop over like sleepy daisies. Perhaps your flower looks flat instead of full, or the center refuses to stay closed.
If that sounds familiar, you’re in good company.
Crochet flowers may be small projects, but they can be surprisingly dramatic. A tiny change in yarn, hook size or tension can completely change how a flower looks. The good news? In almost every case, the problem isn’t your crochet skills. It’s a handful of small details that are incredibly easy to fix once you know what to look for.
After designing dozens of realistic crochet flower patterns, I’ve discovered that the same crochet flower mistakes appear again and again. They’re common, they’re fixable, and sometimes they’re not even mistakes at all.
Let’s look at the seven most common crochet flower mistakes and how to turn them into beautiful, realistic blooms.

Quick Answer
The most common crochet flower mistakes are inconsistent tension, choosing the wrong yarn or hook size, floppy petals, uneven stitch counts, loose magic rings, incorrect wiring, and skipping the final shaping.
The good news is that you rarely need to start over. Most crochet flowers can be dramatically improved with a few simple adjustments before you weave in the last end.
Why Don’t My Crochet Flowers Look Like the Pattern?
This is probably the question I hear most often. You followed every instruction. Counted every stitch. Used the same pattern. Yet somehow your flower still looks… different.
Before you blame yourself, remember that crochet patterns aren’t recipes with guaranteed identical results. They’re more like gardening instructions. Two people can plant the same seed and still grow slightly different flowers.

Several things influence the final look of your crochet flower:
- your crochet tension
- the exact yarn brand you use
- hook size
- how tightly you close the magic ring
- how you shape the petals afterwards
- even the humidity can affect natural fibers like cotton
The designer’s sample has also usually been carefully shaped, photographed from its best angle, and often made after several prototypes.
In other words, don’t expect your very first flower to look exactly like the cover photo. Aim for something even better. Aim for a flower that looks alive.
One of my favorite things about crochet flowers is that tiny imperfections often make them more realistic. Real flowers aren’t identical. Petals overlap differently. One leaf curls a little more than another. A stem bends gently towards the light.
Those little variations are what make a botanical bouquet believable.
If you’re interested in making flowers that look as realistic as possible, you might also enjoy my guide on How to Make Realistic Crochet Flowers Look Realistic, where I dive deeper into shaping, color choices and botanical details.
What Makes a Crochet Flower Look Realistic?
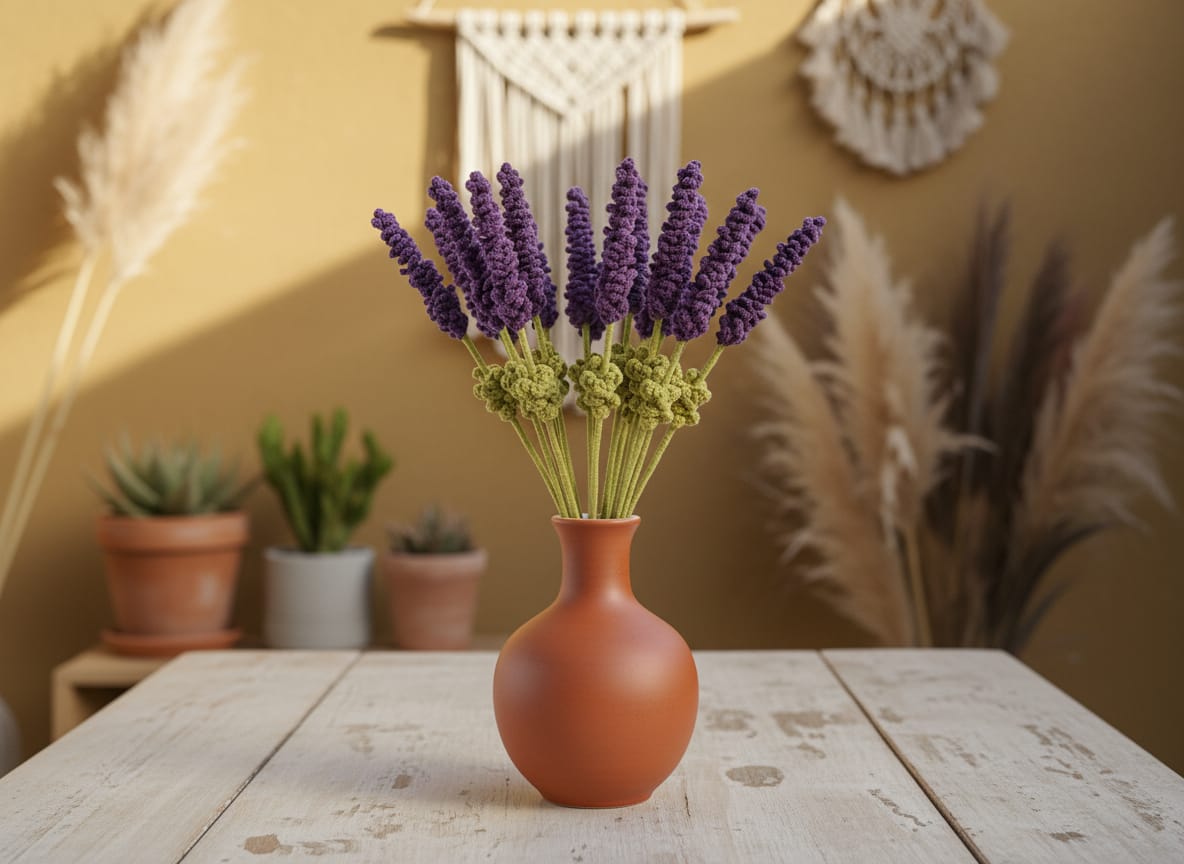
Before we start fixing crochet flower mistakes, it helps to know what we’re actually aiming for. Many beginners think realism comes from using a complicated pattern.
In reality, realism usually comes from the finishing touches. The flowers that make people stop scrolling aren’t necessarily the ones with the most stitches. They’re the ones with:
- crisp, well-defined petals
- natural curves instead of perfectly flat shapes
- stems that bend gently instead of standing ruler straight
- layered petals that overlap naturally
- colors found in nature rather than perfectly matching every petal
- neat finishing with invisible joins
Ironically, making every petal perfectly identical can make a crochet flower look less realistic.
Nature has never been particularly interested in perfect symmetry. Your crochet doesn’t have to be either.
Before You Frog It…
There’s something I always tell beginners. Don’t unravel your flower the moment it looks a little strange.
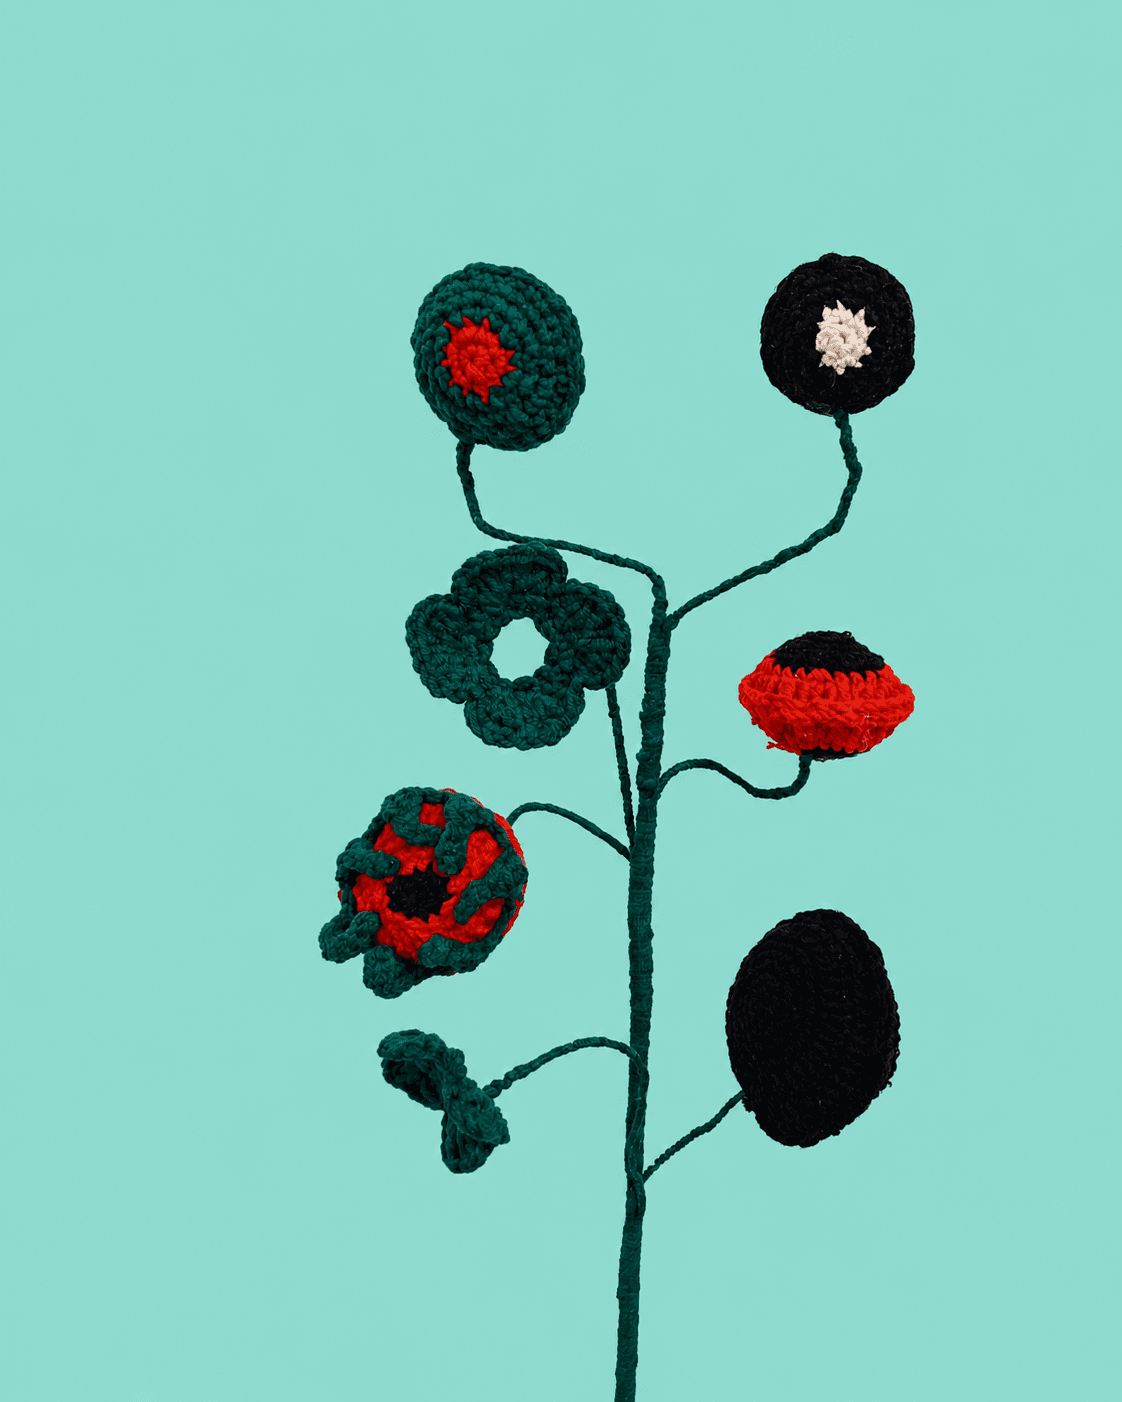
Many crochet flowers look awkward halfway through construction. Petals haven’t been shaped yet. The flower center hasn’t been tightened. Leaves haven’t been attached. The stem hasn’t been wired.
It’s a bit like judging a cake before it’s baked. Finish the flower first. Then spend a minute gently arranging the petals with your fingers. Turn the flower from different angles. Fluff it. Twist it.
Sometimes thirty seconds of shaping completely transforms the finished result. Only after you’ve done that should you decide whether anything actually needs fixing. And with that in mind, let’s start with the most common culprit of them all…
1. Inconsistent Crochet Tension
Almost every crocheter has experienced this. The first few petals look perfect. Halfway through the flower, your hands relax, you settle into a rhythm, and suddenly the last petals are slightly larger than the first ones.
Or perhaps you’ve crocheted in the evening after a long day and your grip isn’t quite as steady as it was in the morning.
The result? One side of the flower looks fuller. Another side looks tighter. Sometimes the petals ripple or curl unexpectedly.
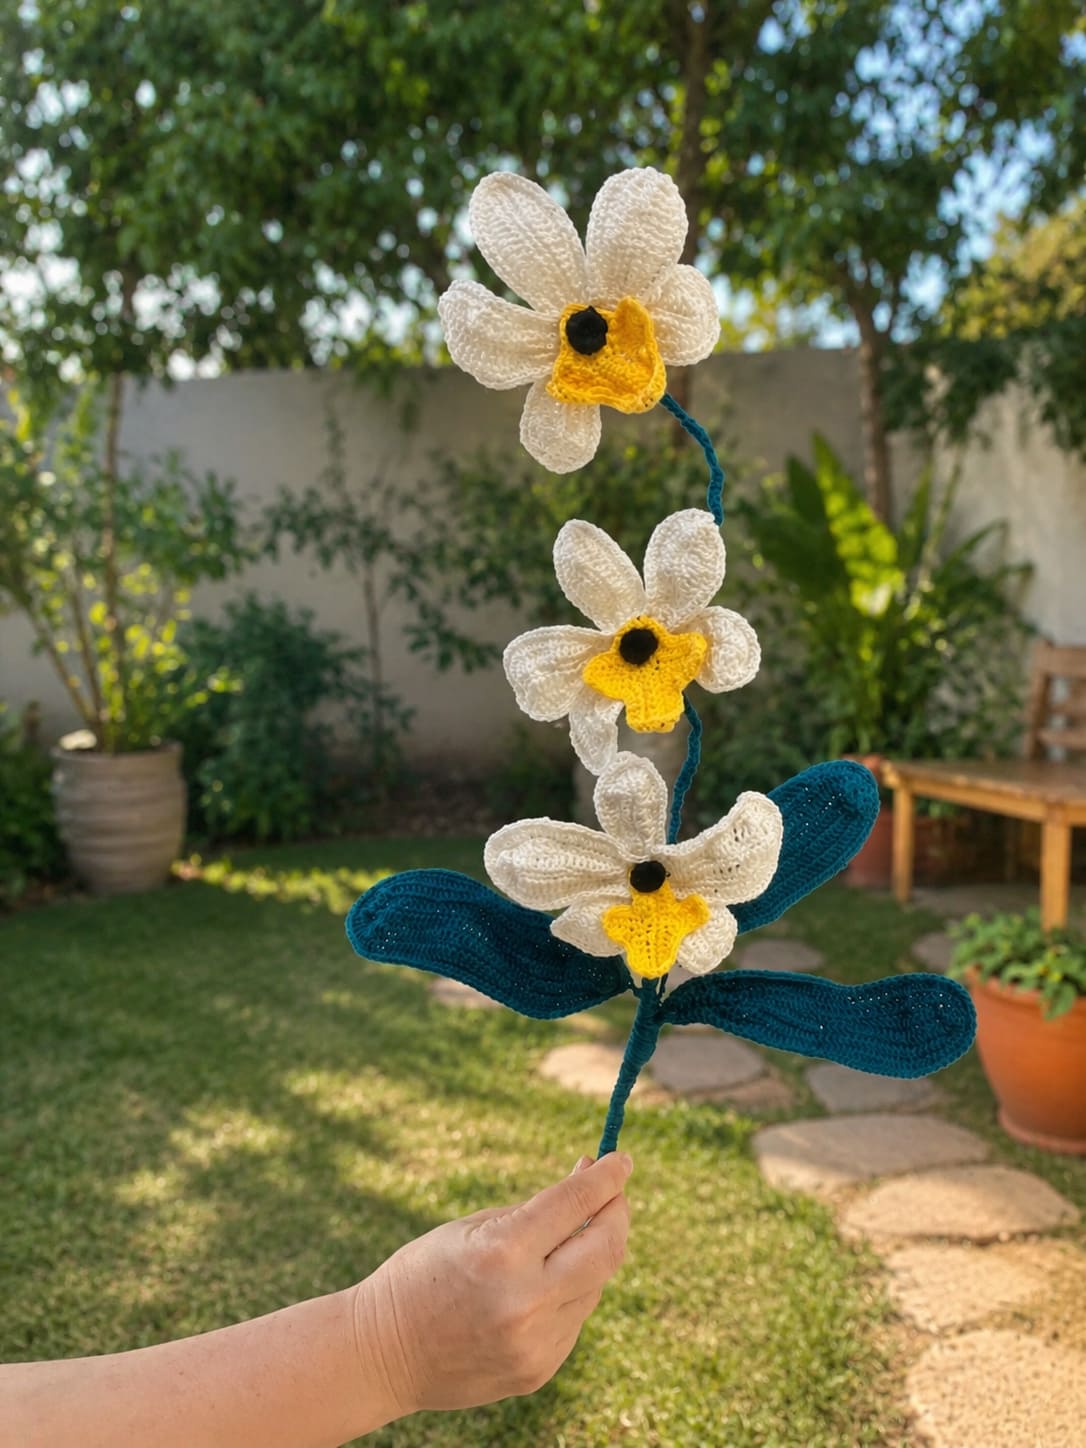
Why it happens
Crochet tension changes more than most people realize. It can vary depending on:
- hand fatigue
- stress
- switching yarns
- changing hooks
- taking breaks between sessions
- simply becoming more relaxed as you crochet
Even experienced designers notice this.
How to fix it
If consistency is important for your project:
- Crochet a small practice swatch before starting your flower.
- Finish one flower in a single sitting if possible.
- Use the same hook throughout the project.
- Avoid pulling the yarn tighter when working tiny stitches.
If you’re making several flowers for a bouquet, try completing each flower before moving on to the next rather than crocheting all the petals assembly-line style. Your hands tend to settle into a more consistent rhythm that way.
The surprising upside
Here’s a little secret. Tiny tension differences often make crochet flowers look better. Real petals aren’t manufactured. Some curve. Some twist. Some open wider than others.
A flower with slightly uneven petals often looks far more convincing than one that’s perfectly identical all the way around.
Sometimes your hands accidentally imitate nature. And that’s a lovely mistake to make.
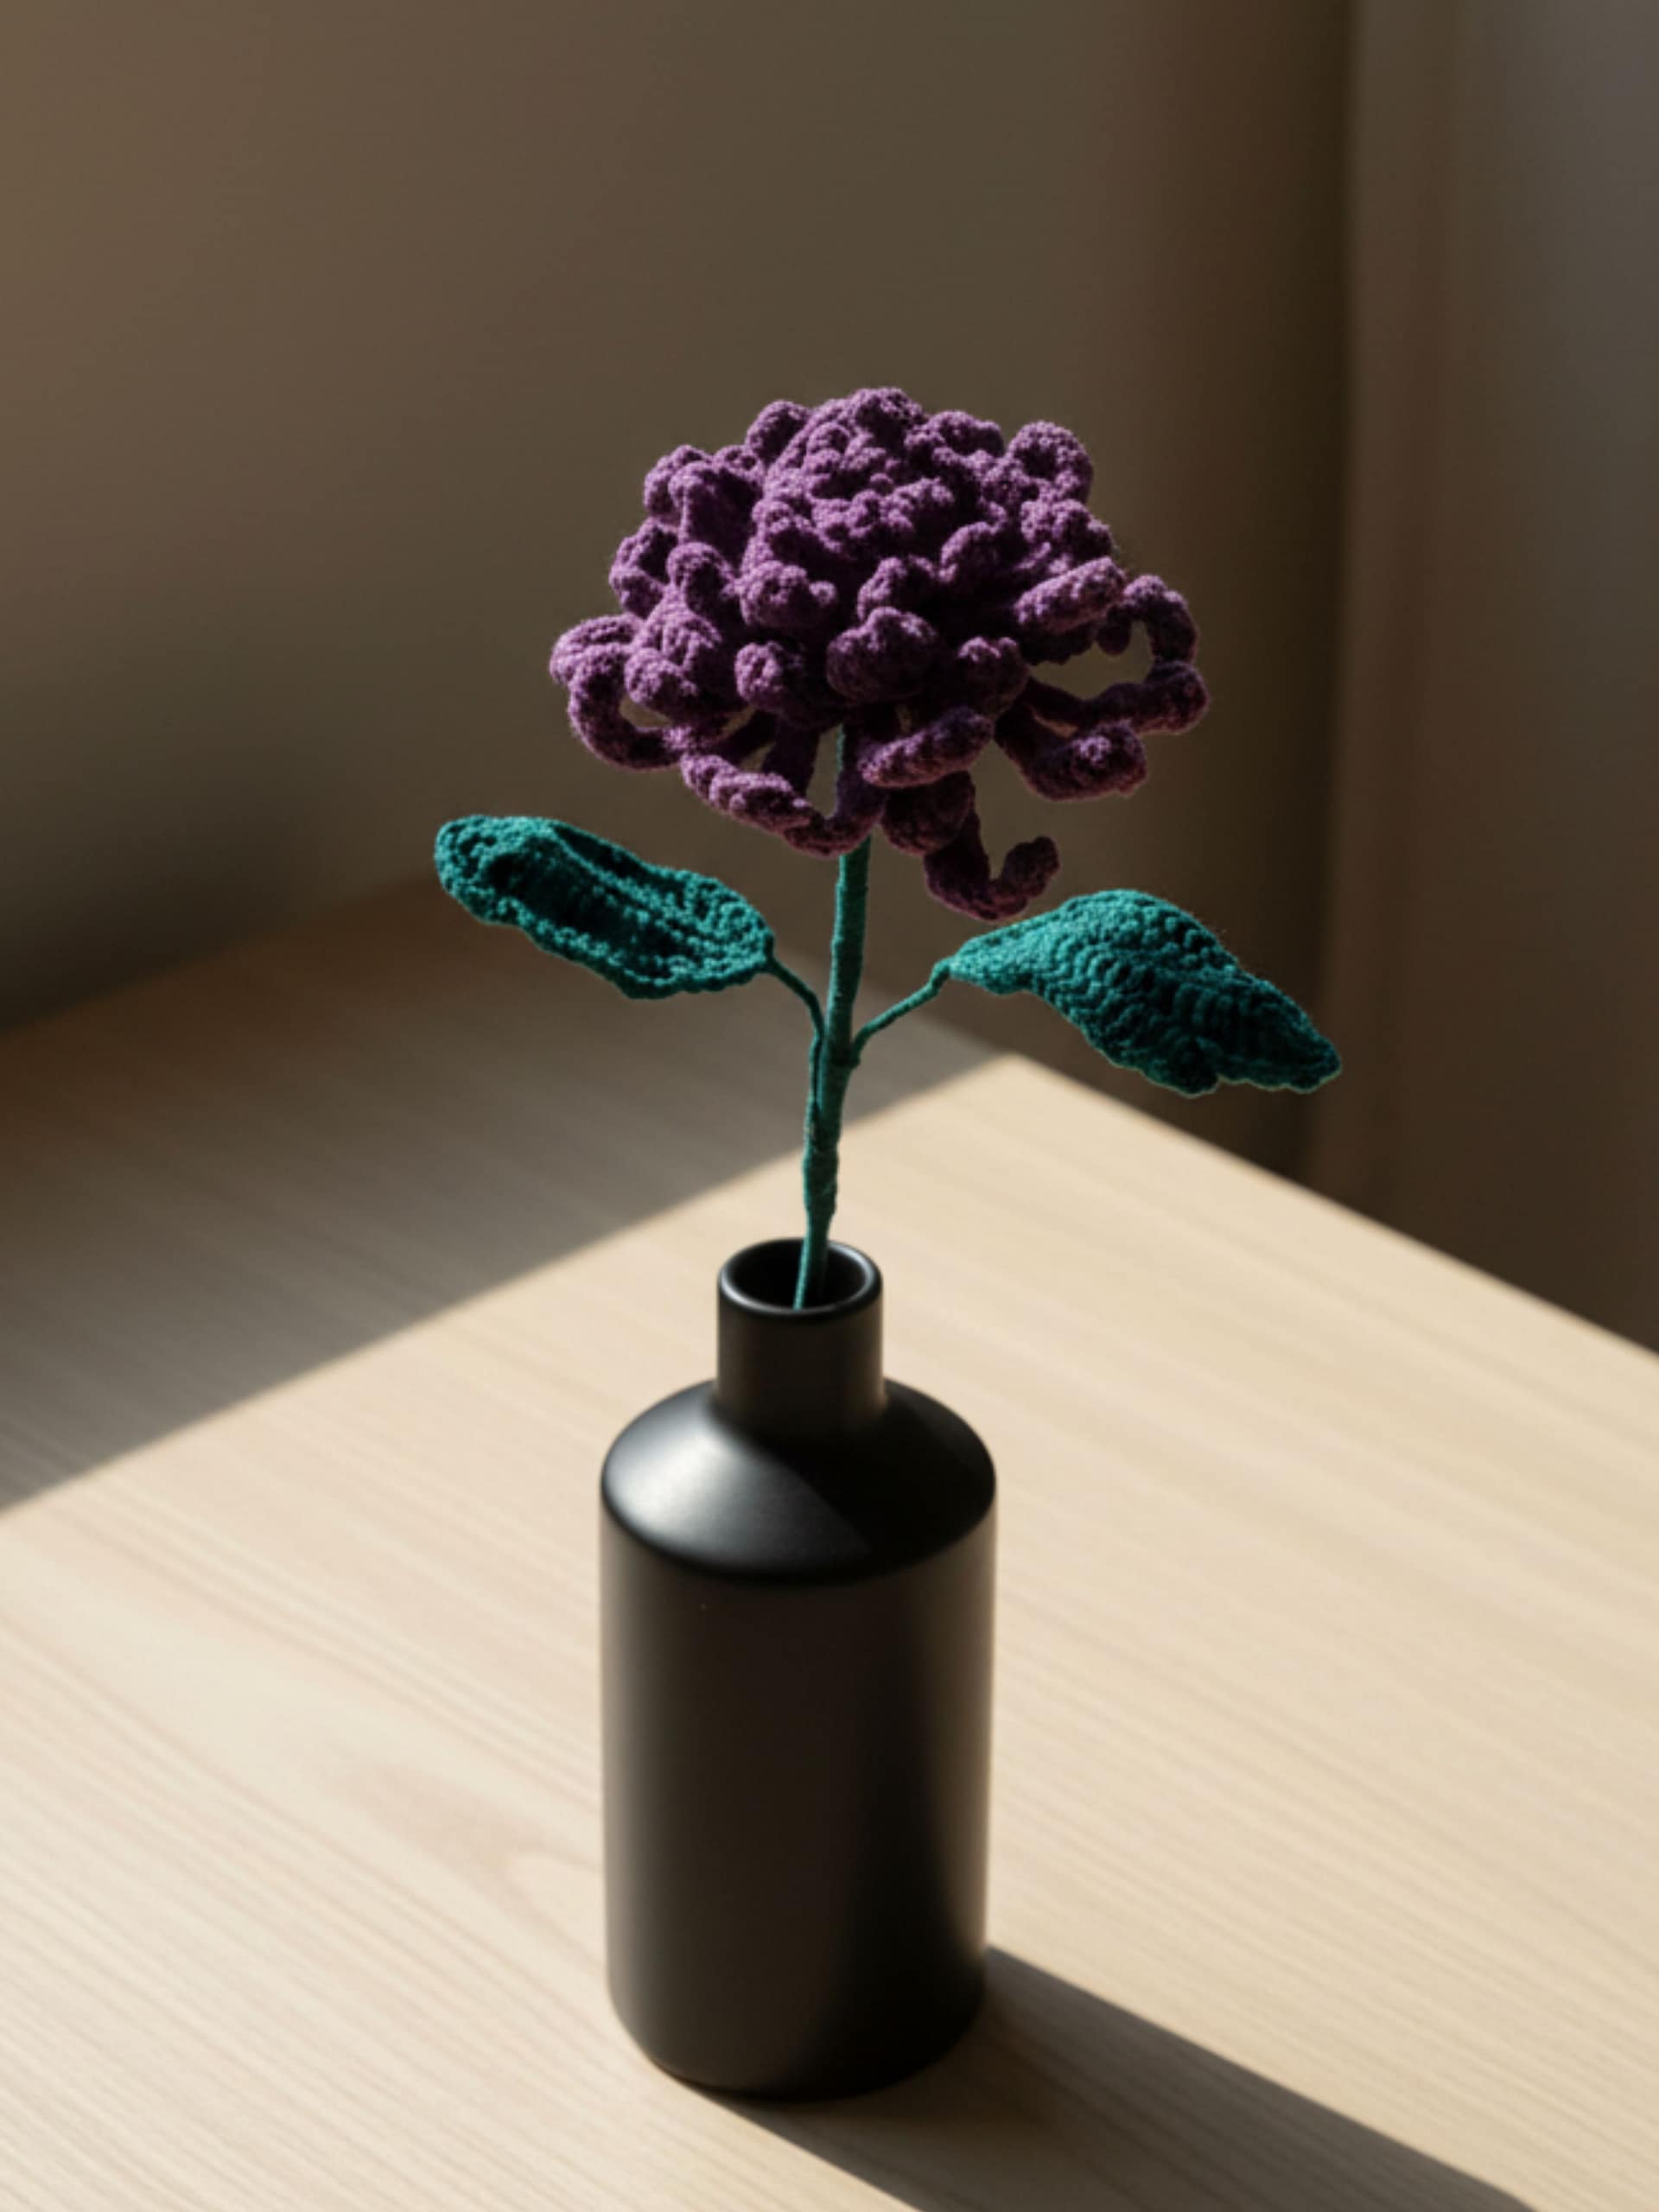
2. Flat or Floppy Crochet Flower Petals
Have you ever finished a flower only to find that the petals refuse to bloom?
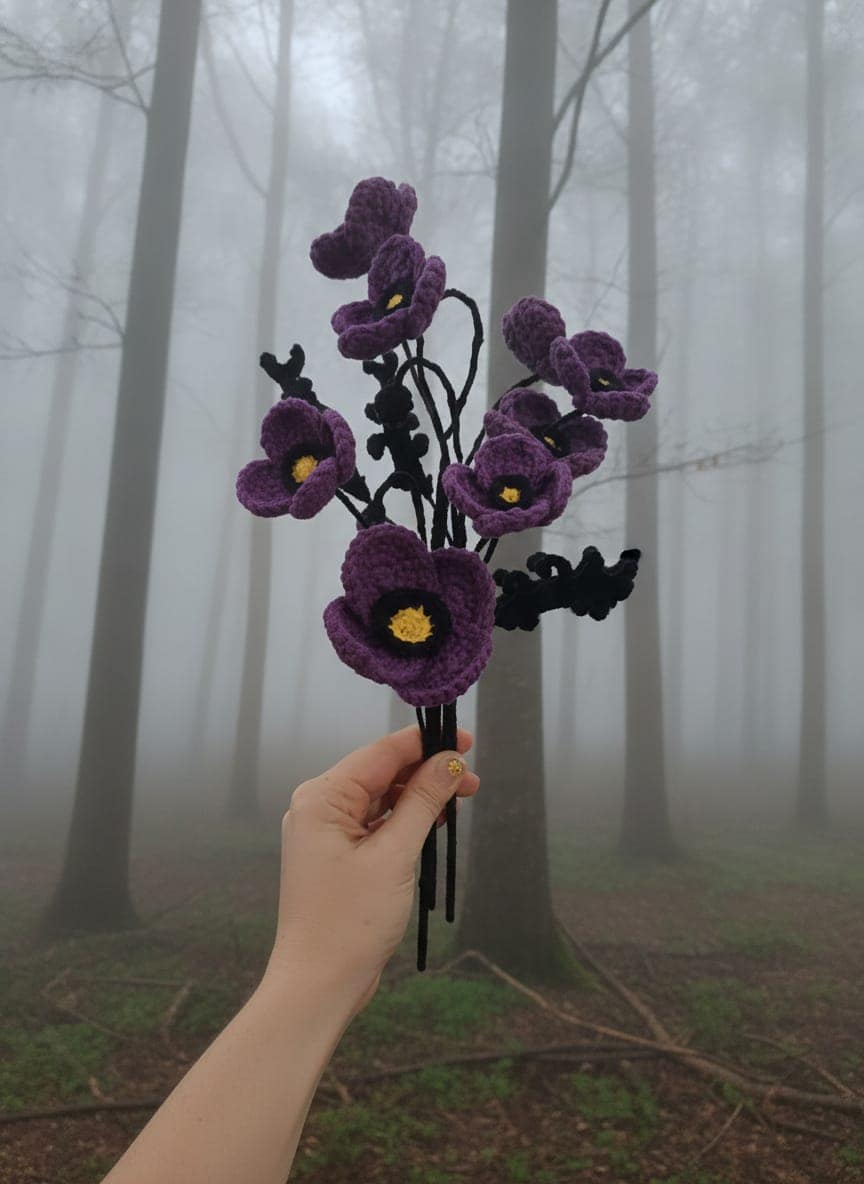
Instead of lifting gracefully, they droop towards the center or collapse under their own weight. The flower looks more like a pancake than a peony.
Don’t worry. This is one of the easiest crochet flower mistakes to fix.
Why it happens
Petals become floppy for several reasons. Sometimes the yarn is simply too soft. Acrylic yarn, especially lightweight acrylic, creates beautiful blankets and garments but often struggles to hold sculptural shapes.
Other times, the hook is too large, creating loose stitches that don’t provide enough structure.
The pattern itself also plays a role. Some flowers are designed to lie flat, while botanical flowers often rely on layered petals, shaping and sometimes even wire.
How to fix floppy petals
The easiest improvement is choosing the right materials.
For most of my realistic flowers, I use 100% cotton yarn with a 1.5 mm crochet hook. Cotton has excellent stitch definition and naturally creates firmer petals that hold their shape beautifully.
Other tricks include:
- adding a slip stitch edging around each petal
- crocheting slightly tighter
- using a smaller hook
- gently shaping the petals after finishing
- adding floral wire if the pattern is designed for it
If your petals only need a little encouragement, don’t underestimate your fingers. Pinch the base of each petal. Curve the edges slightly. Rotate them until they overlap naturally. It takes less than a minute and can completely transform the flower.
Can you stiffen crochet flowers?
Yes, although I don’t recommend it for most realistic flowers.
Some crocheters use fabric stiffener, diluted PVA glue or even sugar water to make flowers rigid. These methods work well for ornaments, Christmas decorations or wall art that won’t be handled much.
For bouquets, however, I prefer letting the structure come from the crochet itself. Cotton yarn, dense stitches and careful shaping create flowers that feel natural instead of stiff.
If you’d like to learn more about choosing the best materials, have a look at my guide to Choosing Yarn and Hooks for Crochet Flowers, where I compare fibers, yarn weights and hook sizes in much more detail.
3. Crooked or Uneven Crochet Flowers
Sometimes you finish a flower and notice something feels… off. One side looks fuller. One petal sits higher than the others. The center isn’t quite centered. Your first instinct might be to frog the entire flower. Don’t.
Most uneven flowers are completely salvageable.
Why it happens
Crochet flowers are built in circles, spirals and layers. If your starting point shifts slightly during each round, those tiny changes gradually add up.
The same thing happens if you accidentally skip a stitch or add an extra one. Suddenly one petal has more room than the next.
Fortunately, these mistakes are usually cosmetic rather than structural.
How to fix uneven flowers
The simplest solution is also the cheapest. Use stitch markers. Place one at the beginning of every round, even if you think you’ll remember where it started. Future You will appreciate the favor.
Also remember to count your stitches after each round rather than waiting until the flower is finished. Finding one missing stitch after five rounds is much easier than after fifteen.
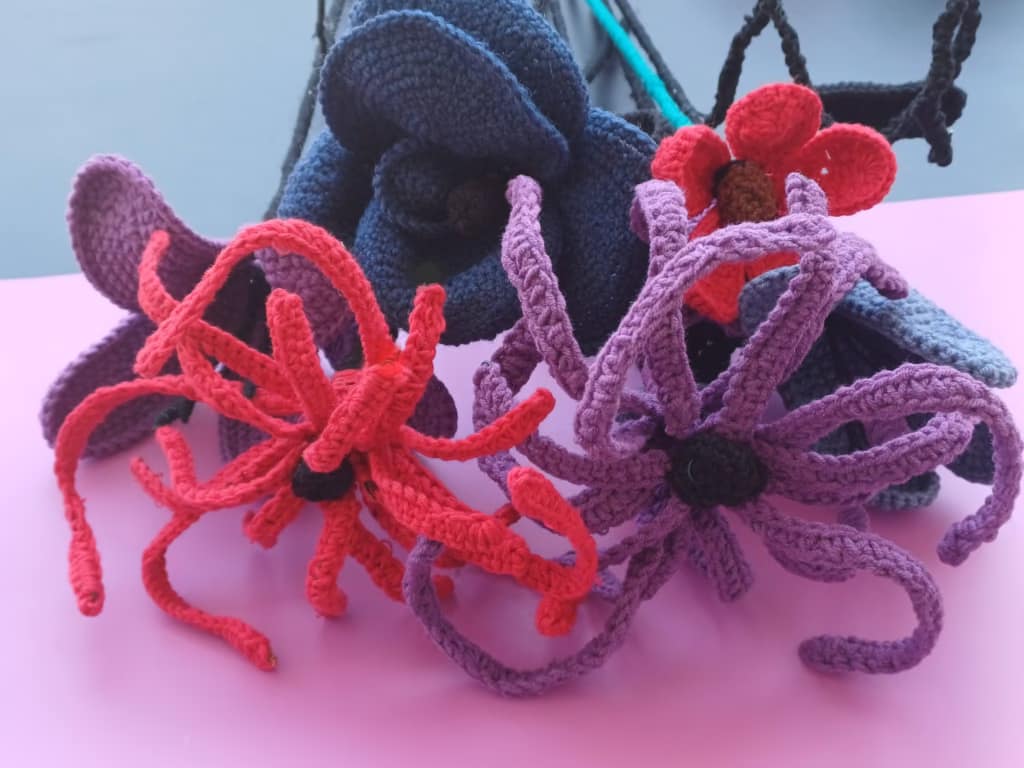
Once the flower is complete, spend a minute arranging it. Lift overlapping petals. Spread tighter ones. Rotate the flower while looking at it from above. Small adjustments often create a huge improvement.
Should every crochet flower be symmetrical?
Not necessarily. Look at a rose in your garden. Now look at another one. They’re different. Nature doesn’t repeat itself perfectly.
That’s one reason botanical crochet flowers often look more realistic than perfectly identical decorative flowers. A tiny lean or slightly uneven petal isn’t automatically a mistake. Sometimes it’s exactly what makes the flower believable.
4. Magic Ring Problems
The magic ring. The tiny circle responsible for an astonishing amount of crocheter frustration. When it behaves, it’s brilliant.
When it doesn’t, you may find yourself negotiating with six inches of cotton yarn like you’re trying to convince a stubborn cat to take medicine.
Common magic ring problems
The most common issues are:
- a hole that refuses to close
- a ring that loosens over time
- twisting while you crochet
- breaking the yarn by pulling too hard
- forgetting which tail to pull
If you’ve experienced any of these, you’re definitely not alone.
How to make a stronger magic ring
One trick I use is making the magic ring with a double wrap instead of a single loop. The extra friction helps prevent it from loosening later. Once you’ve completed the first round:
- pull the tail firmly
- weave it through several stitches
- weave it back in the opposite direction
That extra pass locks everything in place much more securely.
Is the magic ring the only option?
Absolutely not. If you dislike magic rings, use a chain ring instead. Crochet four chain stitches. Join them with a slip stitch to form a small circle.
Work your first round into that ring. The center won’t close quite as tightly, but for many flowers, especially larger blooms, the difference is barely noticeable.
The important thing is choosing the technique you’ll actually enjoy using. Crochet should feel relaxing. Not like wrestling spaghetti.
Quick Troubleshooting Checklist
Before moving on to the next mistakes, ask yourself these questions:
✔ Are my petals lying flat because my hook is too large?
✔ Am I using a yarn that’s too soft for sculptural flowers?
✔ Did I shape the petals after finishing?
✔ Is the flower actually crooked, or have I simply not arranged the petals yet?
✔ Did I tighten and secure the magic ring properly?
You’d be surprised how often one of these answers solves the problem.
5. Using the Wrong Yarn or Hook Size
This is probably the most overlooked reason crochet flowers don’t turn out as expected.
You follow the pattern carefully. Every stitch count is correct. Yet your finished flower looks much larger, much smaller or much softer than the designer’s sample.
Most of the time, the pattern isn’t the problem. The materials are.
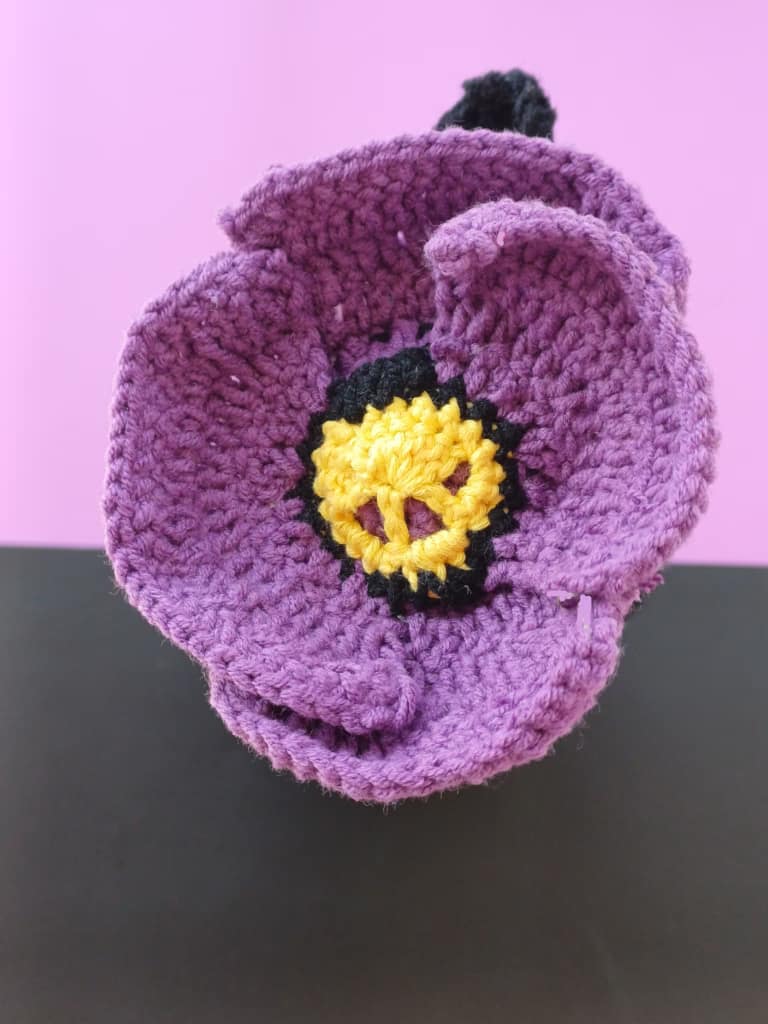
Why yarn makes such a big difference
Unlike blankets or scarves, crochet flowers rely on structure. Every petal needs to hold its shape, curve naturally and stay where you put it. Different fibers behave very differently, even if they’re the same weight.
Here’s a quick comparison:
Cotton yarn
If you’re aiming for realistic flowers, cotton is hard to beat.
It has excellent stitch definition, keeps crisp edges and naturally supports sculptural petals. Because it has very little stretch, every stitch stays exactly where you place it.
That’s why most of my botanical flower patterns are designed with 100% cotton yarn in mind.
Acrylic yarn
Acrylic is soft, affordable and available almost everywhere, making it a great choice for many crochet projects.
For flowers, however, it usually creates softer petals that may droop more easily. That’s not necessarily a bad thing if you’re making decorative blossoms or children’s accessories, but it won’t produce the same crisp, botanical look as cotton.
Cotton blends
Cotton blends sit somewhere in the middle. Some produce lovely flowers with slightly softer curves, while others behave almost like pure cotton.
If you’re experimenting with a new yarn, it’s always worth making a single flower first before crocheting an entire bouquet.
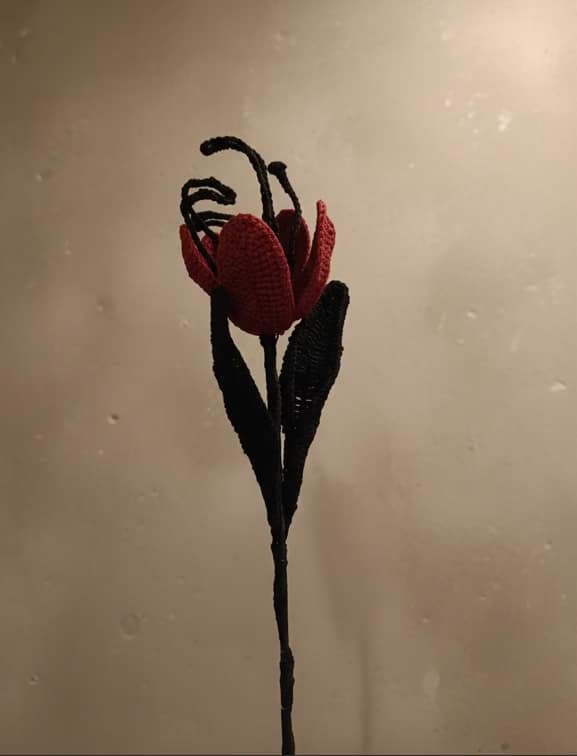
Choosing the right hook size
Hook size is just as important as yarn. A larger hook creates looser stitches, which can make petals look airy but also less structured.
A smaller hook produces denser stitches that help petals keep their shape. For most of my flowers, I use a 1.5 mm hook with lightweight cotton yarn. The stitches become dense enough to support realistic shaping while still remaining enjoyable to crochet.
Of course, every pattern is different. Always check the recommended hook size before starting, then don’t be afraid to make a small adjustment if your tension differs from the designer’s.
Sometimes changing the hook by just 0.25 mm is enough to transform the entire flower.
Can I use different yarn than the pattern recommends?
Absolutely. Just remember that changing the yarn changes the flower. Thicker yarn produces larger blooms. Finer yarn creates delicate miniature flowers.
That’s not a mistake. It’s simply another version of the design. Some of my favorite experiments have happened because I ignored my own recommendations and wondered, What if I tried this instead?
If you’d like a deeper look at yarn weights, fibers and hook sizes, my Complete Guide to Choosing Yarn and Hooks for Crochet Flowers covers everything in much more detail.
6. Obsessing Over Every Stitch Count

Raise your hand if you’ve counted a round three times…
…only to discover you still have no idea whether you have 47 or 48 stitches. We’ve all been there. Counting matters in crochet, especially for garments and amigurumi. But flowers are surprisingly forgiving.
Why stitch counts matter
Most flower patterns rely on evenly spaced petals.
If one petal accidentally gains several extra stitches, it may become noticeably larger than the others. Likewise, skipping too many stitches can make a petal look narrow or pull the flower out of shape.
Checking your stitch count at the end of each round saves a lot of frustration later.
But perfection isn’t the goal
Here’s something that might surprise you. If one petal has one extra stitch, nobody will ever notice.
Not your friends. Not your customers. Not even your cat (or my parrot 🙂 ), despite their famously high crafting standards.
Real flowers aren’t identical. One petal overlaps another. One curls slightly more. One catches the light differently. Those tiny variations often make crochet flowers look more convincing.
So, before you unravel half your project over a single stitch, ask yourself one question:
Can I actually see the mistake?
If the answer is no… Keep going.
Easy ways to avoid counting mistakes
If numbers aren’t your favorite part of crochet, a few simple habits make life much easier.
- Use stitch markers at the beginning of every round.
- Count after each round instead of waiting until the flower is finished.
- Work in good lighting.
- Take short breaks if your eyes become tired.
- Read the entire pattern before you begin.
That last tip sounds obvious, but it’s one of the biggest time-savers.
Many flower patterns include shaping, layering or assembly steps that influence earlier rounds. Knowing where the project is heading helps you understand why you’re making certain stitches instead of simply following instructions.
Don’t rush the assembly
Interestingly, many flowers that look “wrong” aren’t actually crocheted incorrectly. They’re assembled too quickly. Before attaching petals, leaves or stems, lay everything out on your table.
Rotate the petals. Experiment with different positions. Take a photo.
Sometimes the arrangement you hadn’t planned turns out to be the most natural looking one. Flowers are wonderfully forgiving that way.
A Small Secret From Behind the Scenes
Whenever I design a new crochet flower, I rarely get the final version on the first attempt. A petal might be one stitch too wide. A leaf may need a gentler curve. A stem might look better with one extra wrap of yarn.
Designing is a conversation between the pattern and the flower. Each version teaches me something new.
So if your first attempt isn’t perfect, you’re doing exactly what every designer does. You’re learning what your flower wants to become.
7. Choosing the Right Wire for Crochet Flowers

If you’ve ever wondered why some crochet flowers look almost identical to real ones, the answer is often hidden inside the stem.
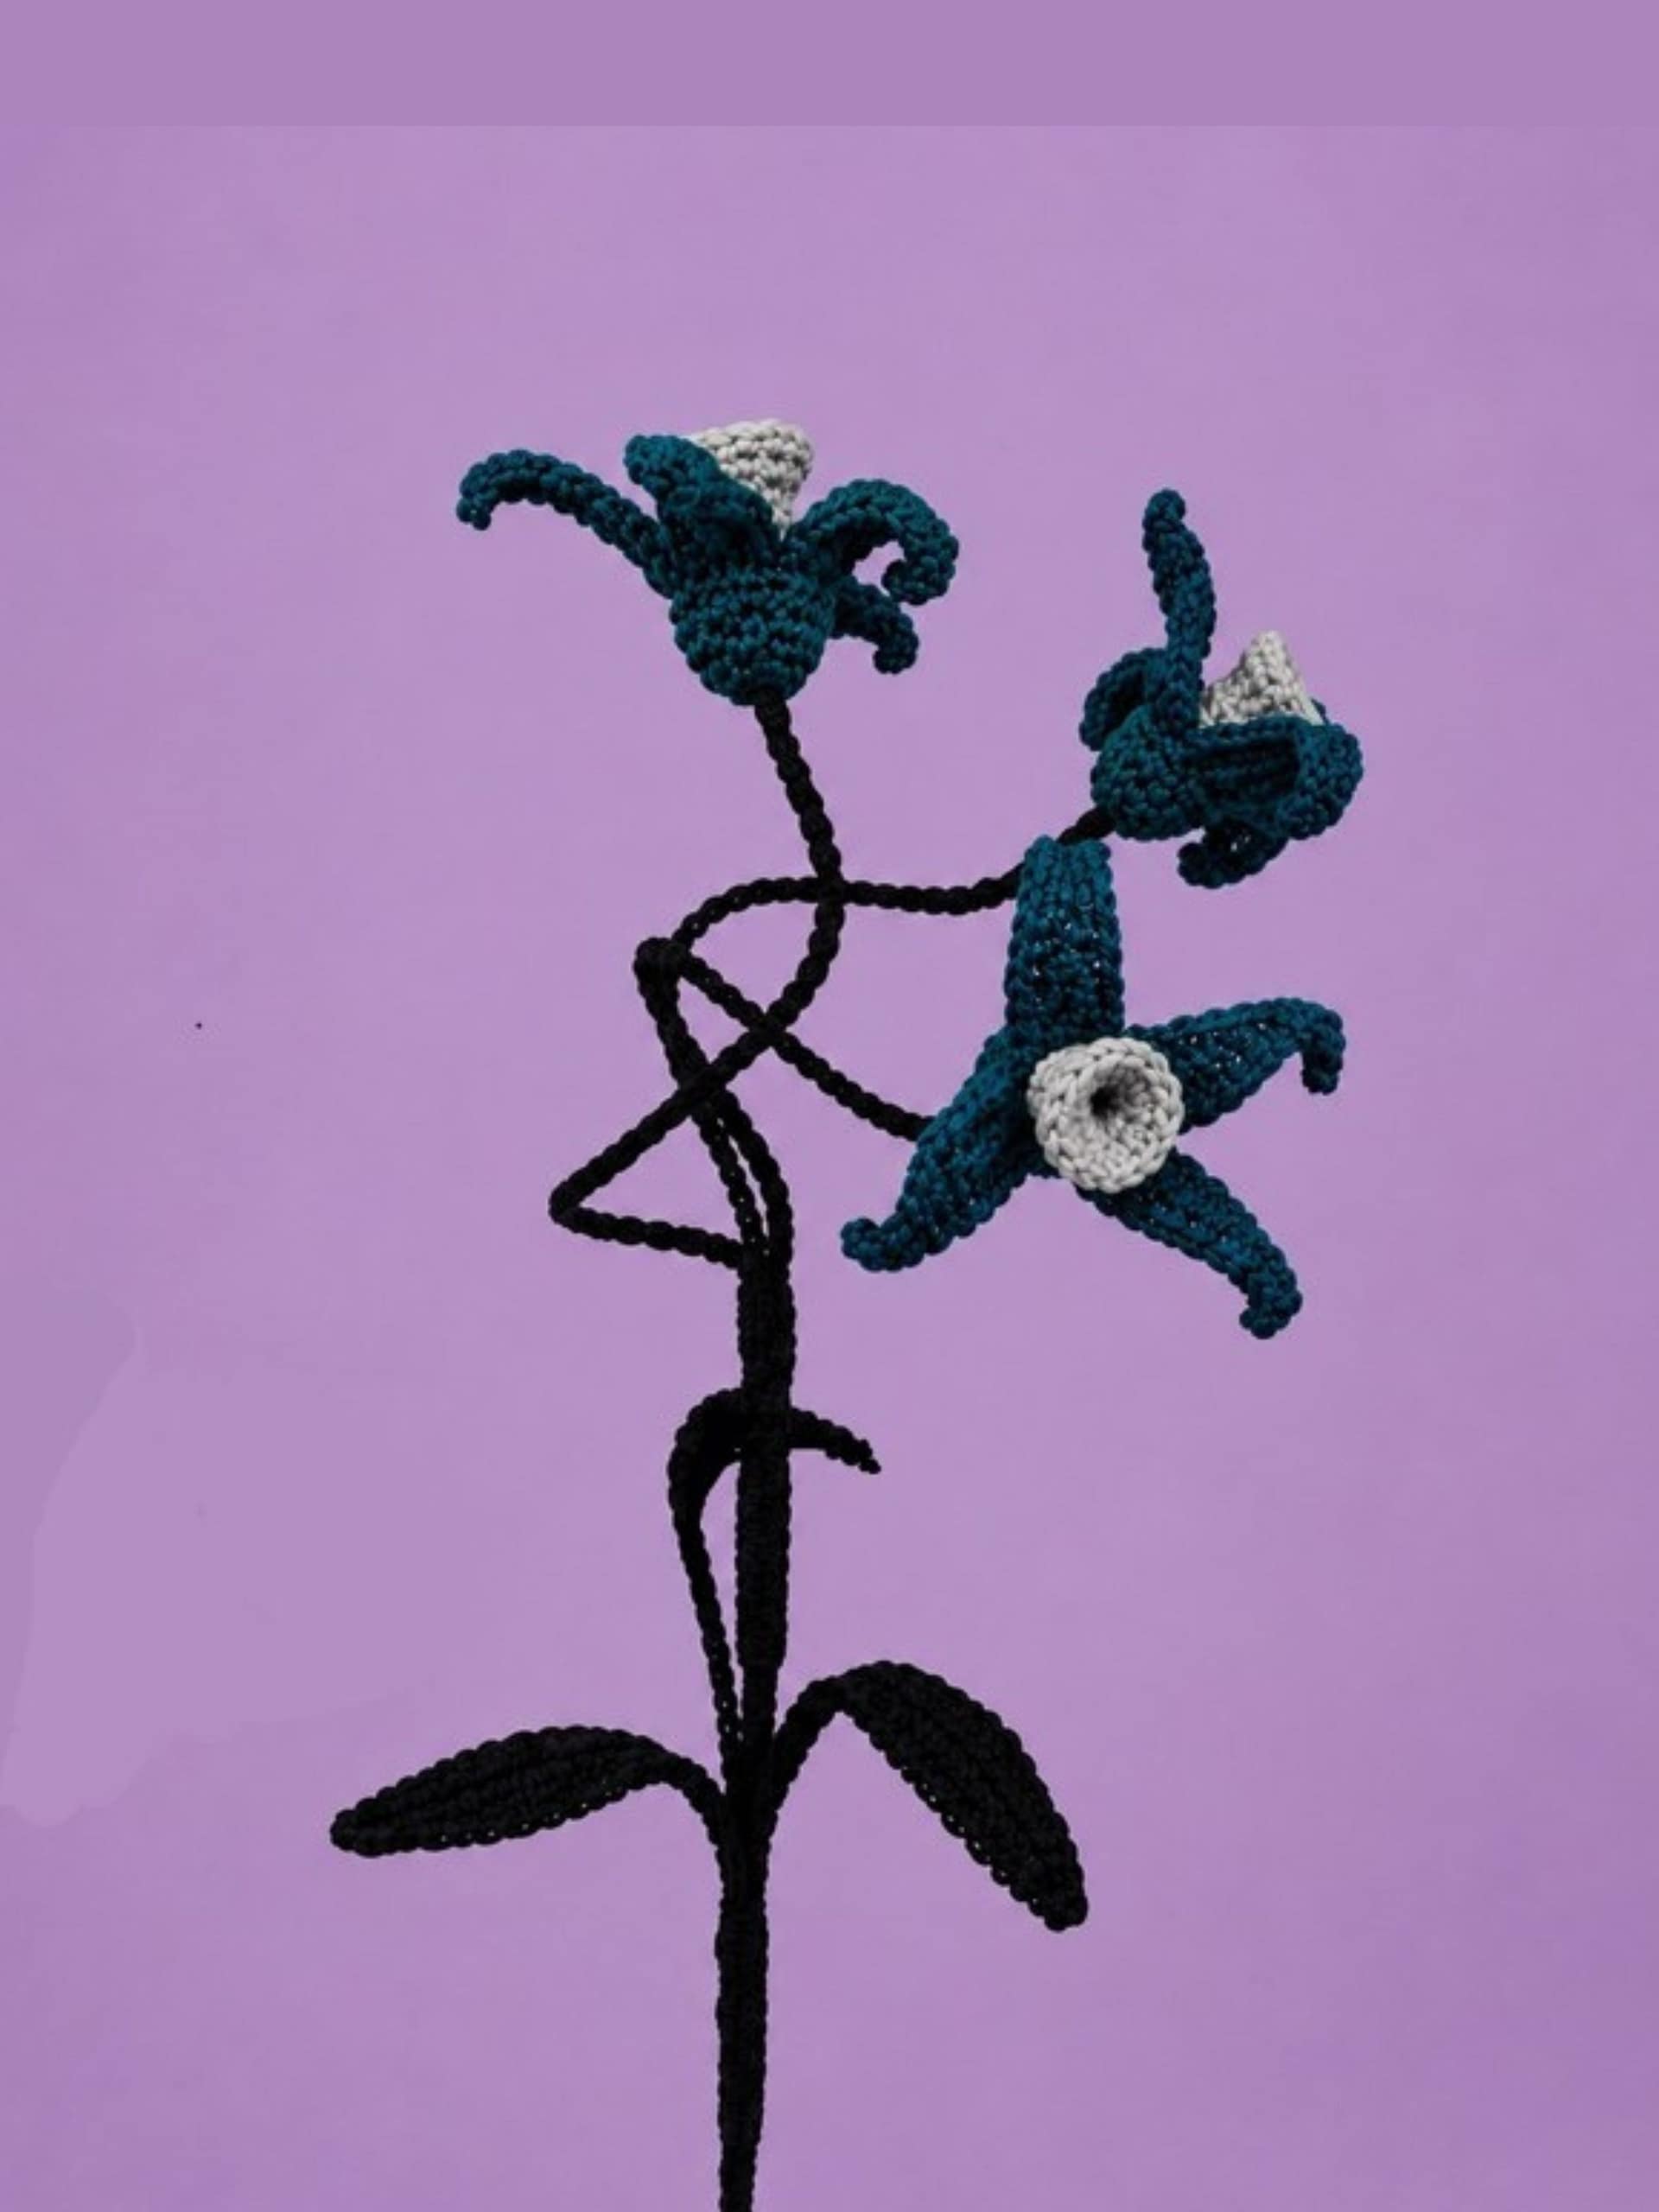
Wire gives crochet flowers movement. Instead of standing perfectly straight, the stem can bend naturally. You can tilt the flower towards the light, curve a leaf around another stem or arrange an entire bouquet exactly the way you want it.
For botanical crochet, wire is one of the biggest game changers.
Choosing the right wire
The thickness of the wire matters just as much as the yarn. If it’s too thin, the flower won’t support itself and the stem may flop over. If it’s too thick, shaping becomes difficult and the finished flower can feel stiff and unnatural.
As a general guide:
- 0.4 mm wire works well for delicate flowers, tiny leaves and buds.
- 0.5 to 0.6 mm wire is ideal for most petals and leaves.
- 0.7 mm wire provides extra support for larger blooms and main stems.
Whenever possible, choose stainless steel floral wire. It holds its shape well and is less likely to rust over time.
Covering the wire neatly
One of the most common mistakes is allowing the wire to peek through the yarn. This usually happens because the stitches are too loose or the wrapping isn’t tight enough.
To avoid this:
- wrap the yarn firmly around the wire
- add a tiny dab of glue every few centimeters if your pattern calls for it
- choose a yarn color that closely matches the stem
- keep your tension consistent while wrapping
A neatly wrapped stem can make the difference between a flower that looks handmade and one that looks professionally finished.
Don’t make every stem perfectly straight
Real flowers rarely grow like rulers. Once your stem is wrapped, gently bend it into a soft curve. Angle the flower slightly forward. Turn a leaf towards the stem.
These tiny adjustments add movement and make your bouquet feel much more lifelike.
Sometimes the final shaping takes less than a minute, yet completely changes how realistic the flower looks.
Extra Tips for Better Crochet Flowers
By now you’ve solved the biggest crochet flower mistakes, but these small details can take your flowers one step further.
Shape your petals after finishing
Crochet flowers don’t usually look their best straight off the hook. Take a minute to gently bend each petal into place. Spread overlapping petals. Twist the flower slightly.
It’s amazing how much difference a little shaping can make.
Work in batches for bouquets
If you’re making a bouquet with several stems, try finishing one complete flower before moving on to the next.
Once you’re happy with it, use that flower as your reference for the rest of the bouquet.
This helps maintain a consistent size and style while still allowing each flower to have its own character.
Keep a crochet flower “recipe”
Whenever you find a yarn and hook combination you love, write it down.
Include details such as:
- yarn brand
- yarn color
- hook size
- wire thickness
- finished flower size
Future You will be incredibly grateful when you decide to make another bouquet six months later.
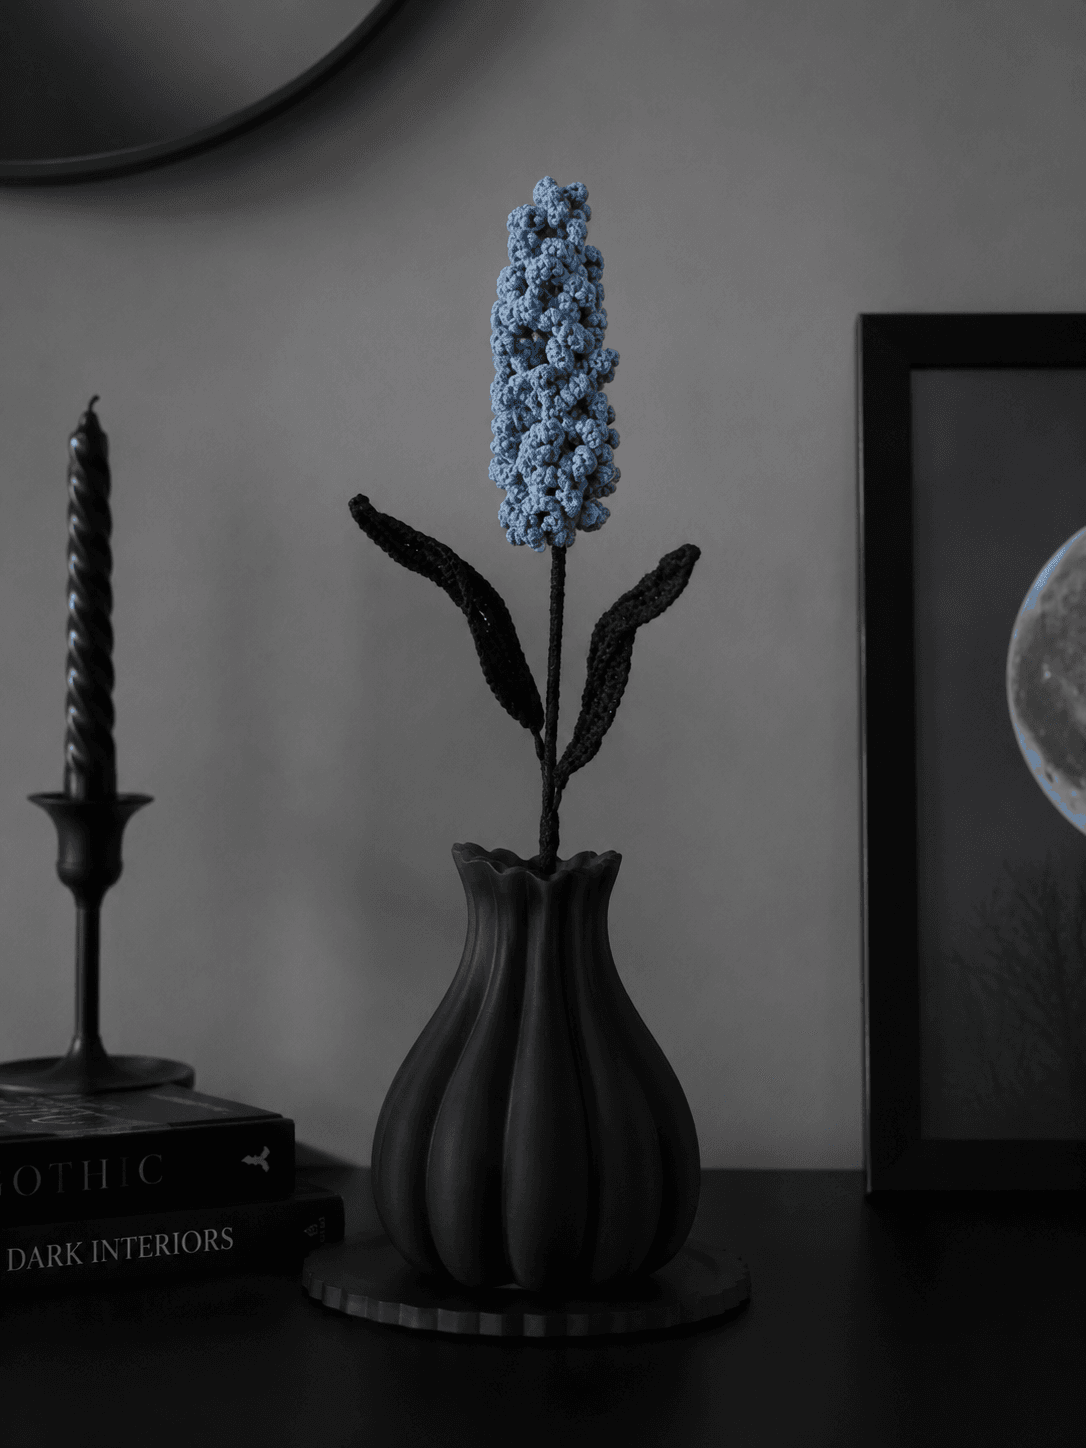
Take photos of your flowers
This might sound unrelated to crochet, but photos reveal things our eyes often miss.
Looking at a flower on your phone can make uneven petals, awkward angles or crowded leaves much easier to spot.
It’s one of my favorite finishing tricks before calling a design complete.
Frequently Asked Questions
Why are my crochet flower petals curling?
Curled petals are usually caused by stitches that are too tight or by accidentally adding too many stitches along the edge.
Sometimes, though, curling is intentional. Many flowers naturally have petals that curve inwards or outwards, so always compare your work with the finished pattern before trying to “fix” it.
What is the best yarn for crochet flowers?
For realistic flowers, 100% cotton yarn is usually the best choice.
It provides crisp stitch definition, keeps its shape well and creates petals that look clean and sculptural.
If you’d like to learn more, I cover different fibers, yarn weights and hook sizes in my complete guide to choosing yarn and hooks for crochet flowers.
Why does my crochet flower look flat?
Flat flowers are often caused by soft yarn, a hook that’s too large or petals that haven’t been shaped after finishing.
Many flowers look dramatically different after a minute of gentle arranging. Don’t judge them too quickly.
Should I block crochet flowers?
Sometimes. Blocking can help smooth uneven stitches or encourage petals into shape. For cotton flowers, however, gentle finger shaping is often enough.
Flowers with wire usually don’t need blocking because the wire allows you to shape them by hand.
How do I make crochet flowers look more realistic?
Focus on the little details. Choose cotton yarn that gives your petals crisp definition, use a smaller hook for better structure, and spend a minute shaping each petal by hand.
Let your stems bend gently and your flowers grow in their own direction. After all, nature has never been perfectly symmetrical, and your crochet doesn’t need to be either.
Final Thoughts
Crochet flower mistakes have taught me something I wasn’t expecting. The smallest details often create the biggest transformations.
A slightly smaller hook. A tighter magic ring. One gentle curve in a stem. A petal turned just a little towards the light.
None of these changes take much time, yet together they can transform a flower from “quite nice” into something that makes people stop and ask, “Wait… is that really crocheted?”
So, if your latest flower doesn’t look exactly the way you imagined, don’t be discouraged. Every flower teaches you something. Every project improves your eye.
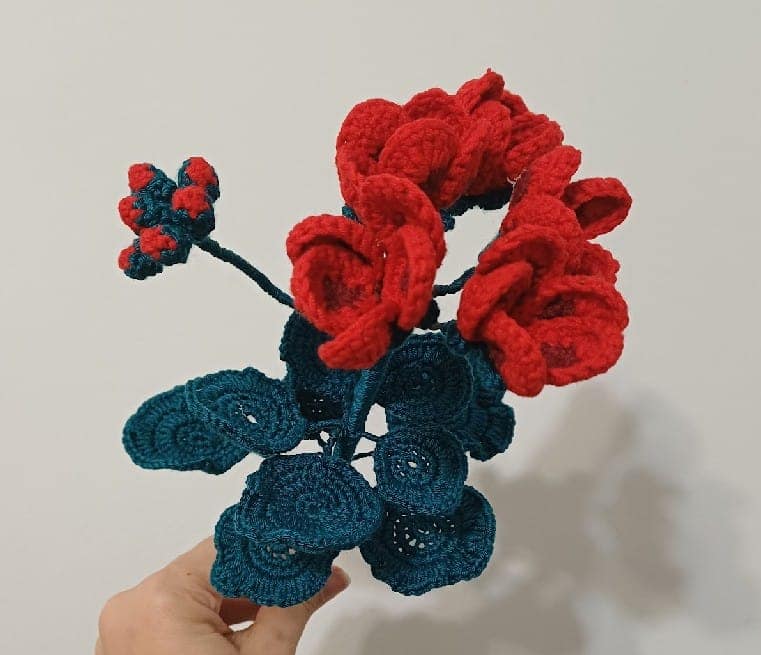
And every tiny adjustment brings you closer to creating blooms that look wonderfully, beautifully alive.
If you’d like to keep improving your crochet flowers, you might also enjoy these guides:
- How to Make Realistic Crochet Flowers Look Realistic
- The Complete Guide to Choosing Yarn and Hooks for Crochet Flowers
- How to Choose Flowers for a Crochet Bouquet
And when you’re ready to put those ideas into practice, explore my collection of beginner-friendly crochet flower patterns. Every design is inspired by real blooms and created to help you build beautiful bouquets with confidence.
Until next bloom,
🖤
Kootsiko
Join my newsletter to receive new patterns, tutorials, and the occasional free surprise.
Read more
How to Spot AI Crochet Patterns Before You Buy
AI crochet patterns are everywhere, but an AI-looking image doesn’t necessarily mean the pattern is …
Birth Month Flowers You Can Crochet: Meanings, Symbolism & Pattern Ideas for Every Month
Looking for the perfect birthday crochet gift? Discover every birth month flower, what each one symb…
How to Choose Flowers for a Crochet Bouquet That Looks Beautiful
A beautiful crochet bouquet isn't just about making pretty flowers. It's about choosing blooms that …
How to Make Realistic Crochet Flowers: 10 Secrets That Bring Yarn to Life
Learn how to make realistic crochet flowers with better yarn choices, petal shaping, wire techniques…
Zephyra – Free Crochet Flower Pattern
Create your own Zephyra crochet flower with this free crochet flower pattern. An easy pinwheel-inspi…
Crochet Flowers With Dark Meanings: 10 Blooms That Tell a Story
Discover crochet flowers with dark meanings and the symbolism behind each bloom. Create handmade bou…
10 Ways to Style Crochet Flowers in a Modern Gothic Home
Think gothic decor means skulls and cobwebs? Think again. Here are 10 stylish ways to decorate a mod…
From Cottagecore to Gothic: My Crochet Poppy Pattern Obsession
One crochet poppy pattern led to another. Discover cute mini bouquets, moody Midnight Poppies and go…
How to Read a Crochet Pattern: A Beginner’s Guide
Learning how to read a crochet pattern can feel like decoding a secret language. In this beginner's …
The Story Behind the Mediterranean Carnation Crochet Pattern
Discover the history, symbolism, and Mediterranean roots behind this realistic Mediterranean Carnati…