
If you’ve ever tried to crochet a tube with only a few stitches around, you’ve probably questioned every life decision that brought you to that moment.
Your hook barely fits. The stitches seem to shrink with every round. You can’t see where you’re inserting your hook. And somehow the yarn always finds a new way to tie itself into a tiny, stubborn knot.
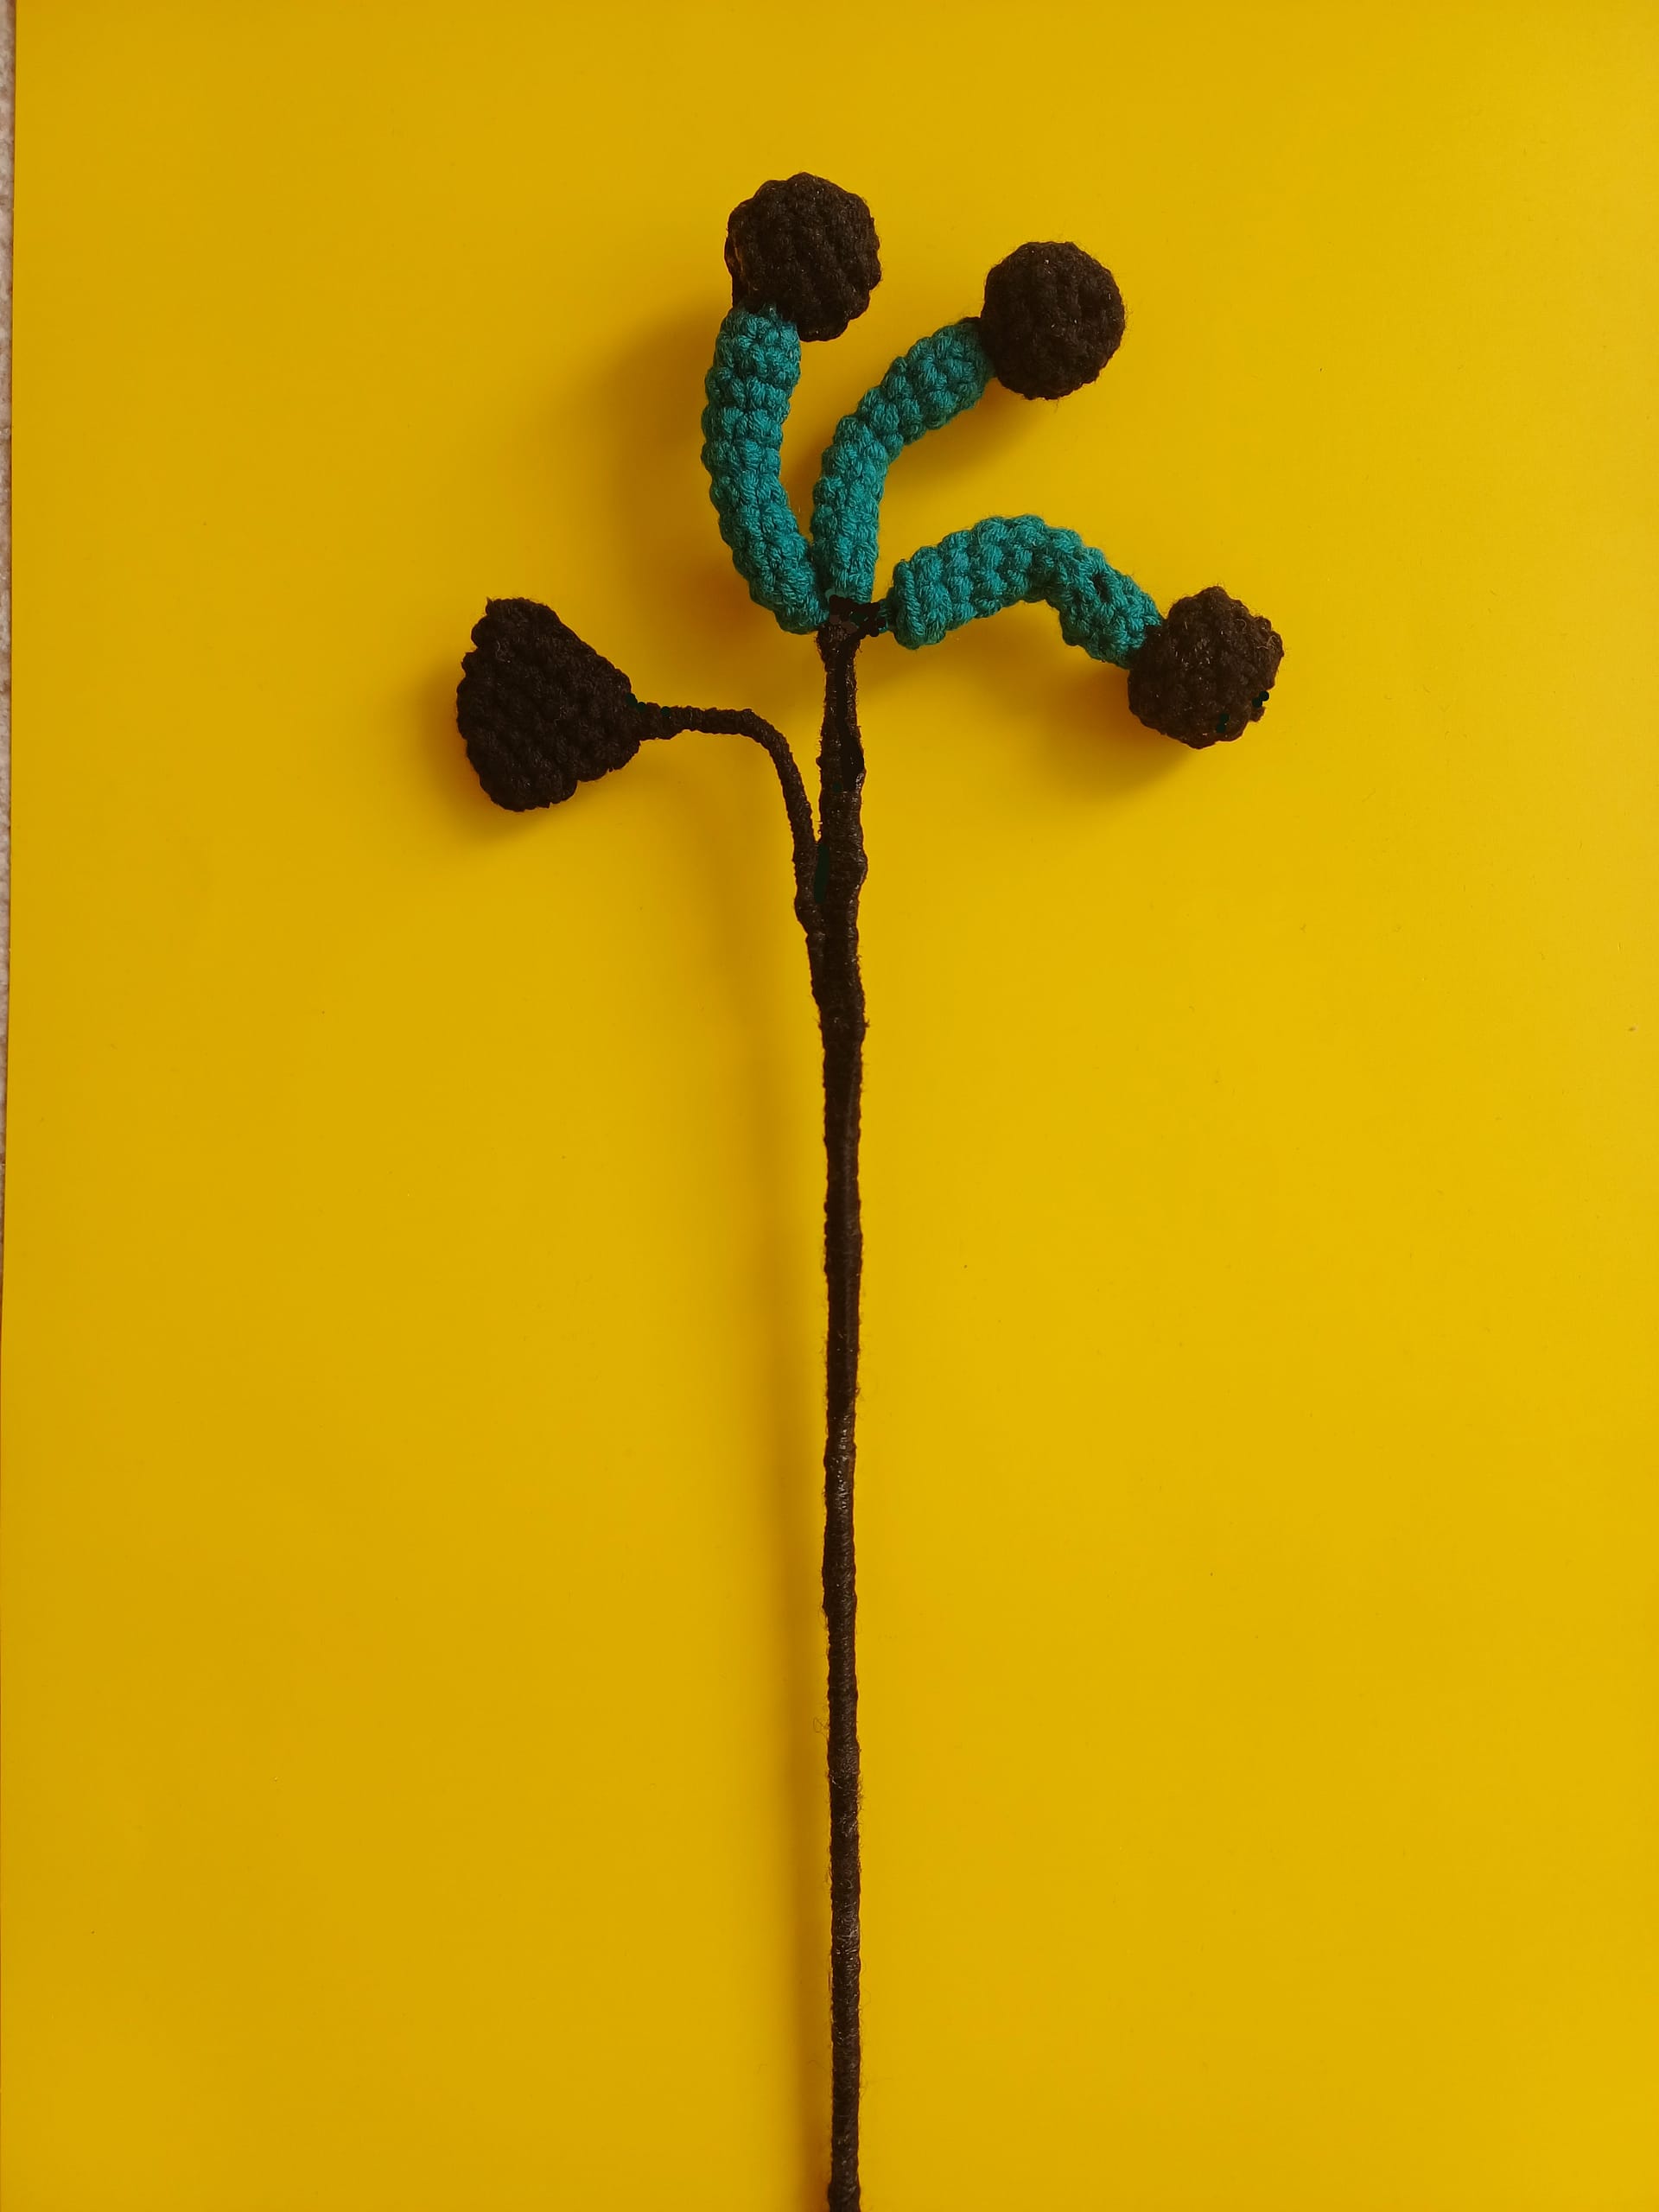
Whether you’re crocheting flower stems, amigurumi arms, tiny legs, vines, fingers, or delicate plant details, narrow tubes are one of those techniques that look easy in patterns but can feel surprisingly difficult in practice.
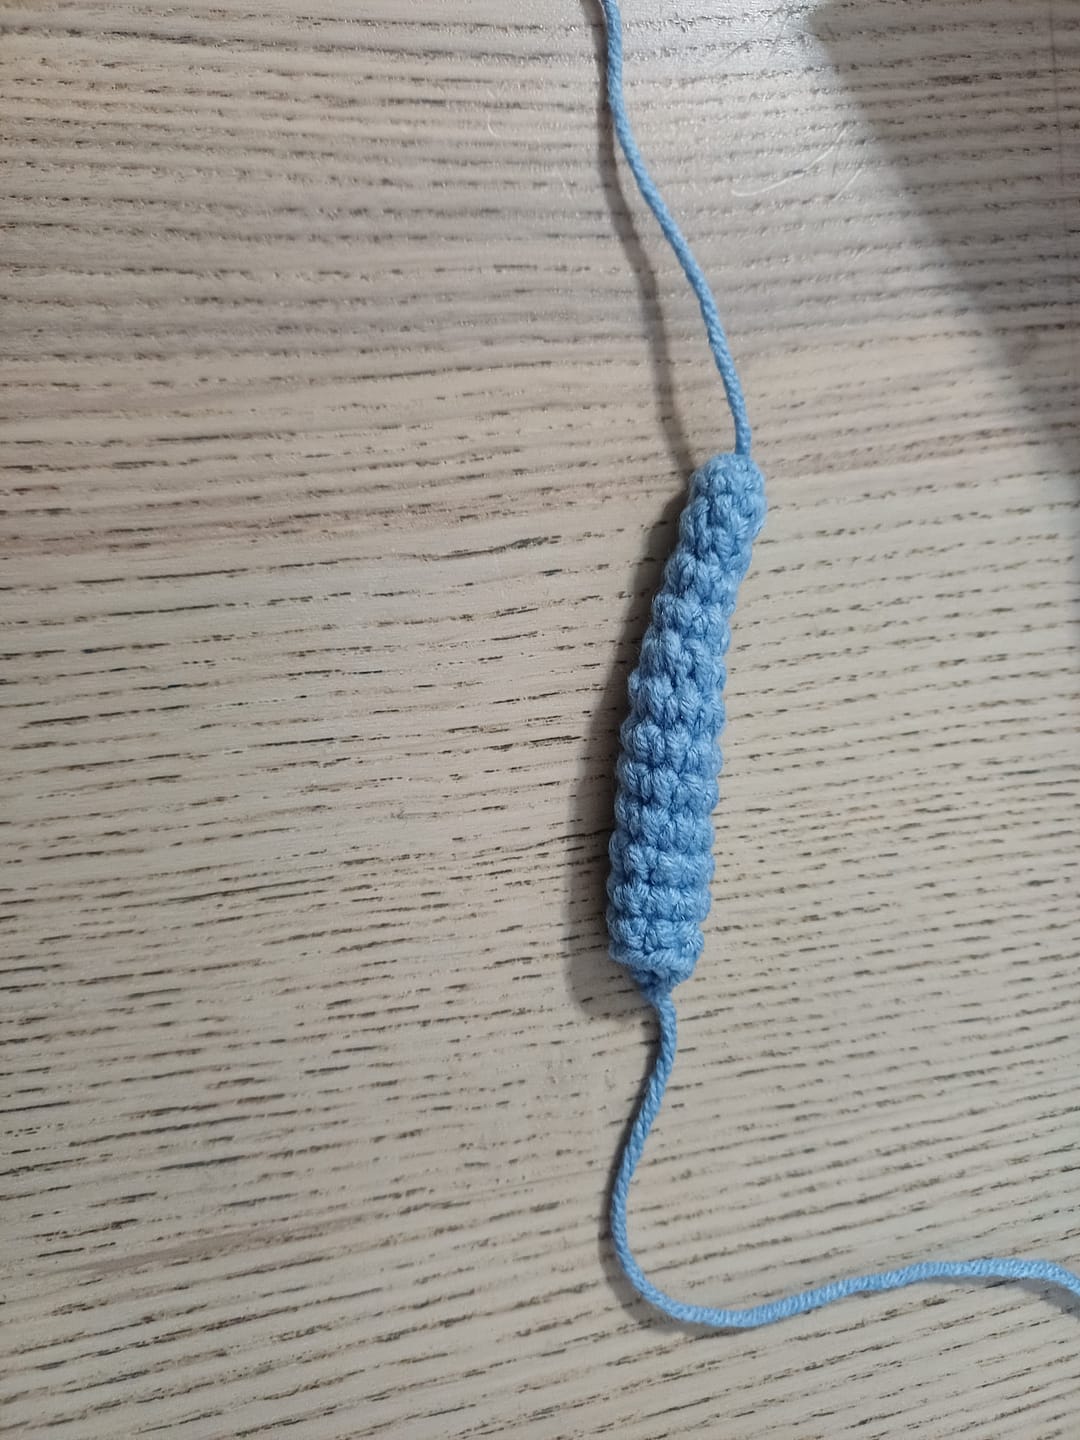
The good news? There’s a simple trick that makes crocheting tiny tubes dramatically easier. It helped me to crochet more realistic flowers, and now I use it almost every time.
Quick answer: How do you crochet a tube more easily?
Before crocheting the narrow section, gently flatten your work. Instead of trying to crochet inside the tiny opening, work only into the stitches on the front layer while ignoring the stitches on the back.
The tube stays open, your hook has room to move, and each stitch becomes much easier to reach.
Just be careful not to catch the stitches behind, or you’ll accidentally close the tube. Simple. Ridiculously effective.
Why is it so hard to crochet a tiny tube?
When your tube only has four, six, or eight stitches around, everything becomes crowded. Your hook has very little room to rotate.
Your fingers struggle to hold the work. The stitch you’re looking for is hidden behind the previous one. The smaller the tube becomes, the tighter everything feels. It’s completely normal.
Even experienced crocheters still find tiny tubes awkward. The trick isn’t stronger fingers. It’s giving yourself more space to work.
The trick that changed everything
Instead of forcing your hook into the middle of the tube, flatten it between your fingers. Now you’ll see two layers of stitches. Ignore the layer at the back. Work only into the stitches on the front.
As you crochet across those stitches, the tube naturally reforms behind your work. Because the opening stays flat, every stitch is clearly visible and much easier to reach.
It feels strange the first few rows. Then suddenly your hands understand the movement, and you’ll wonder why you ever wrestled with tiny tubes the old way.
Why this technique works
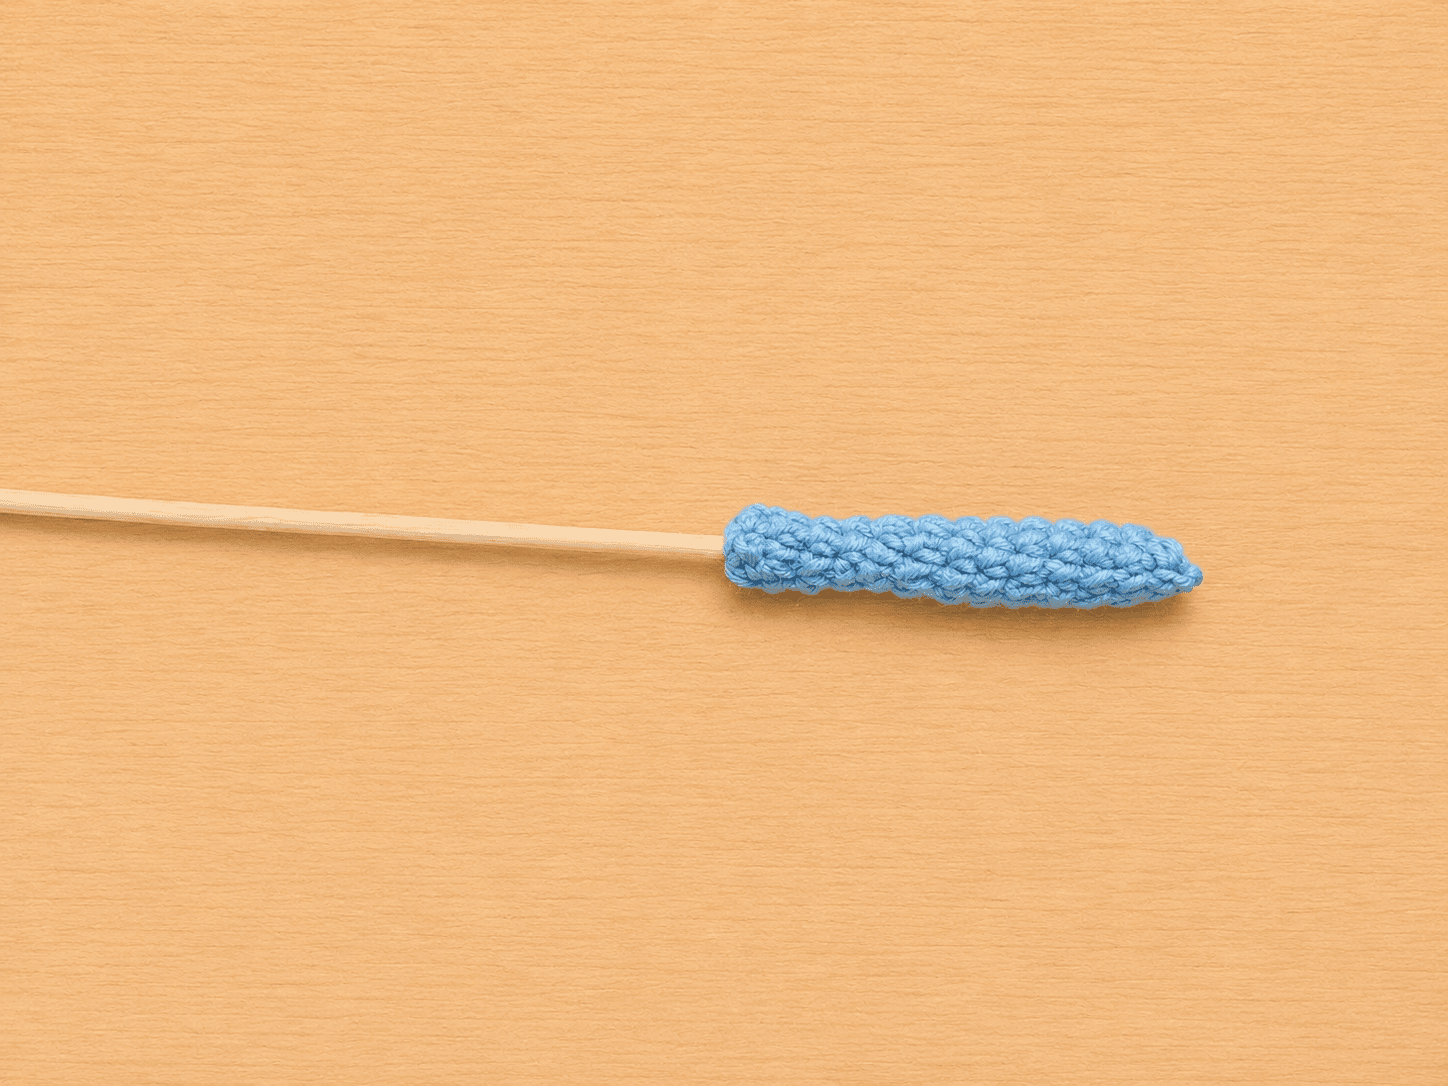
Flattening the tube gives your hook more freedom to move. Instead of working inside a tiny cylinder, you’re temporarily working across a flat surface.
That means:
- you can clearly see every stitch
- your hook enters naturally instead of awkwardly
- you put less strain on your hands
- your stitches stay more even
- the finished tube looks exactly the same
It’s one of those rare crochet tricks that’s both easier and produces cleaner results.

Where can you use this technique?
Almost anywhere you crochet a narrow tube. It’s especially useful for:
- realistic flower stems
- crochet vines
- amigurumi arms
- amigurumi legs
- doll fingers
- mushroom stems
- flower pistils
- antennae
- tentacles
- tiny decorative cords
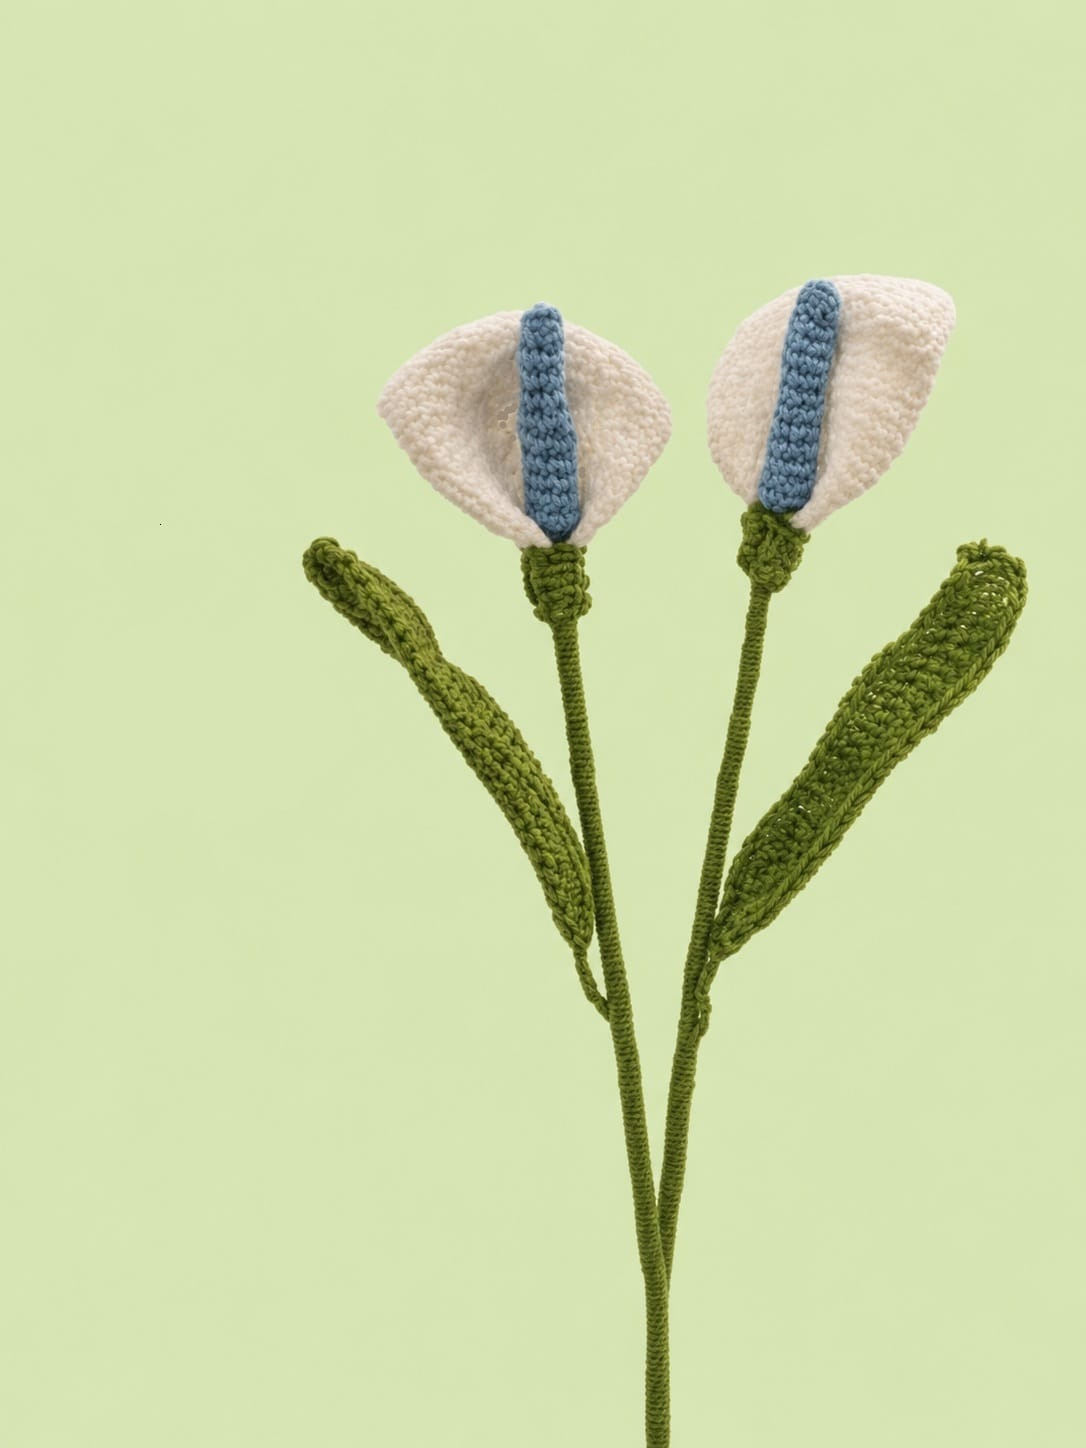
I use it constantly when designing botanical crochet flowers because many stems become too narrow for traditional crocheting after a few rounds.
A simple way to practise
Don’t begin with the tiniest tube imaginable. That’s like learning to ride a bicycle by entering the Tour de France. Instead, make a practice tube with about twelve single crochet stitches.
Work twenty to thirty rounds while using the flattening technique. Once that feels comfortable, make another tube with eight stitches. Then try six.
Finally, challenge yourself with four. Your hands will gradually develop the movement, and before long you’ll be doing it automatically without even thinking about it.
Common mistakes when crocheting a tube
If your tube isn’t coming out quite right, one of these tiny mistakes is usually responsible.
Accidentally catching the back stitches
This is the most common mistake. If your hook grabs both layers while the tube is flattened, you’ll stitch the tube closed.
Keep checking that you’re only working through the front layer.
Pulling the yarn too tightly
Many crocheters naturally tighten their tension when working in small spaces. Unfortunately, that only makes the next round even harder. Try to relax your grip and let the hook do the work.
Starting with a tube that’s too small
If you’re learning this technique, begin with a wider tube before attempting miniature stems. Building confidence first makes a huge difference.

Does this work for flower stems?
Absolutely. You can create easily slim stems in many amigurumi flower patterns. Once you become comfortable with the technique, you’ll probably start using it for almost every narrow stem you make.
Final thoughts
Crocheting tiny tubes doesn’t have to feel like threading a needle while wearing oven mitts. Sometimes the biggest improvements don’t come from learning a complicated new stitch.
They come from changing the way you approach the stitches you already know.
Flatten the tube. Crochet only through the front layer. Keep the back stitches free. That’s it.
A tiny adjustment that can save a surprising amount of frustration. If narrow stems and realistic flowers are your favorite projects, this little trick will quickly become one of those techniques you wonder how you ever lived without.
Frequently Asked Questions
Can I crochet a tube without a magic ring?
Yes. Many crochet tubes begin with a small chain joined into a circle instead of a magic ring. Both methods work well.
Why does my crochet tube keep twisting?
A slight twist is completely normal, especially in very narrow tubes. It usually straightens itself as the tube gets longer.
Can beginners crochet tiny tubes?
Absolutely. Starting with a slightly wider tube before working your way down makes learning much easier.
What’s the best hook for crocheting tiny tubes?
Using the correct hook for your yarn helps enormously. If you’re making realistic flowers, choosing the right yarn and hook combination can make tiny stems much easier to crochet.
Until next bloom,
🖤
Kootsiko
Join my newsletter to receive new patterns, tutorials, and the occasional free surprise.
Keep learning
If you’d like to keep learning, check out these articles:
How to Spot AI Crochet Patterns Before You Buy
AI crochet patterns are everywhere, but an AI-looking image doesn’t necessarily mean the pattern is …
Birth Month Flowers You Can Crochet: Meanings, Symbolism & Pattern Ideas for Every Month
Looking for the perfect birthday crochet gift? Discover every birth month flower, what each one symb…
How to Choose Flowers for a Crochet Bouquet That Looks Beautiful
A beautiful crochet bouquet isn't just about making pretty flowers. It's about choosing blooms that …
How to Make Realistic Crochet Flowers: 10 Secrets That Bring Yarn to Life
Learn how to make realistic crochet flowers with better yarn choices, petal shaping, wire techniques…
Zephyra – Free Crochet Flower Pattern
Create your own Zephyra crochet flower with this free crochet flower pattern. An easy pinwheel-inspi…
Crochet Flowers With Dark Meanings: 10 Blooms That Tell a Story
Discover crochet flowers with dark meanings and the symbolism behind each bloom. Create handmade bou…
10 Ways to Style Crochet Flowers in a Modern Gothic Home
Think gothic decor means skulls and cobwebs? Think again. Here are 10 stylish ways to decorate a mod…
From Cottagecore to Gothic: My Crochet Poppy Pattern Obsession
One crochet poppy pattern led to another. Discover cute mini bouquets, moody Midnight Poppies and go…
How to Read a Crochet Pattern: A Beginner’s Guide
Learning how to read a crochet pattern can feel like decoding a secret language. In this beginner's …
The Story Behind the Mediterranean Carnation Crochet Pattern
Discover the history, symbolism, and Mediterranean roots behind this realistic Mediterranean Carnati…